invisible
- SHOP ONLINE
-
LARGE APPLIANCES
See more
- See all Large appliances
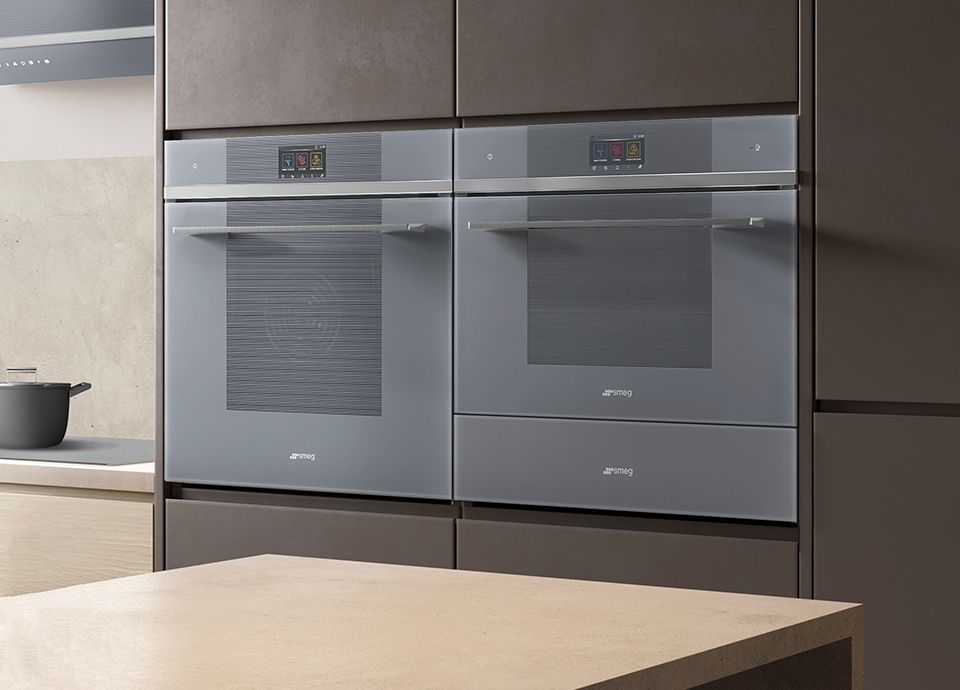
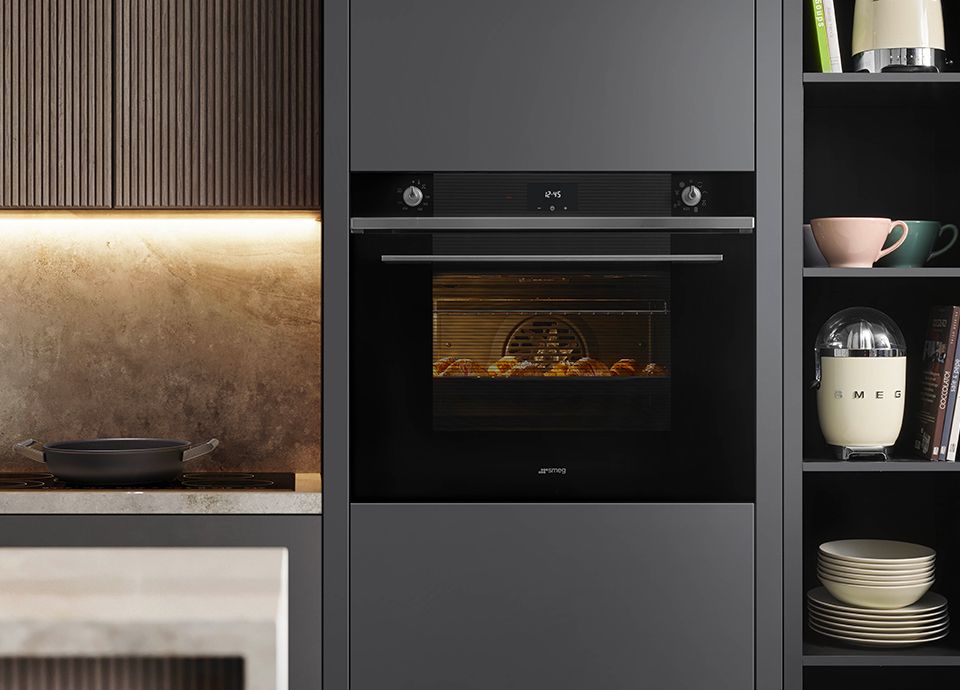
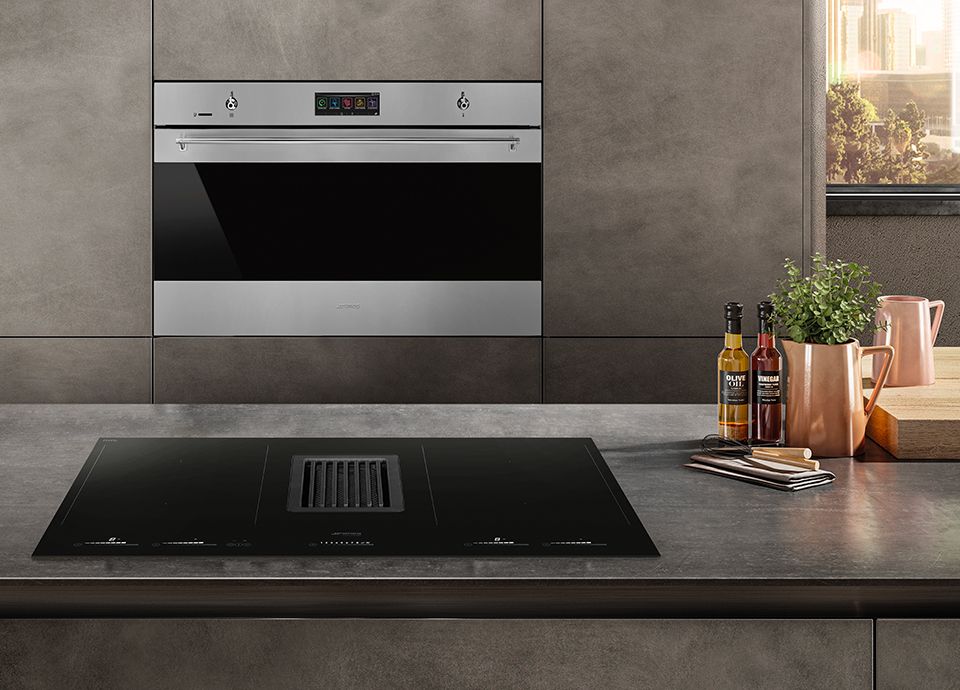
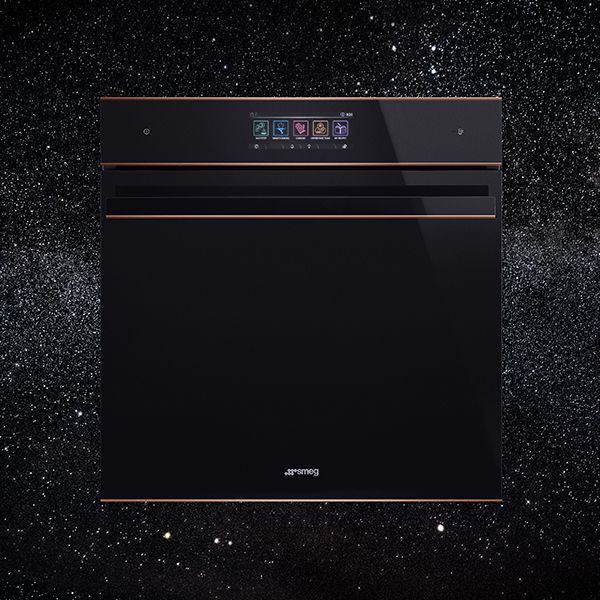
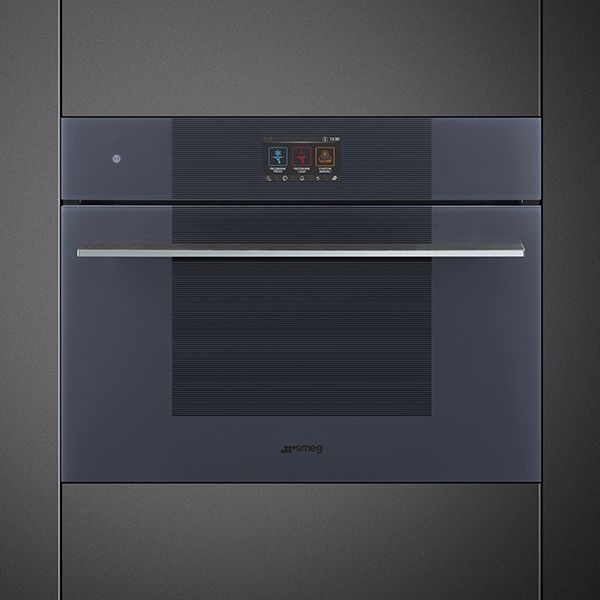
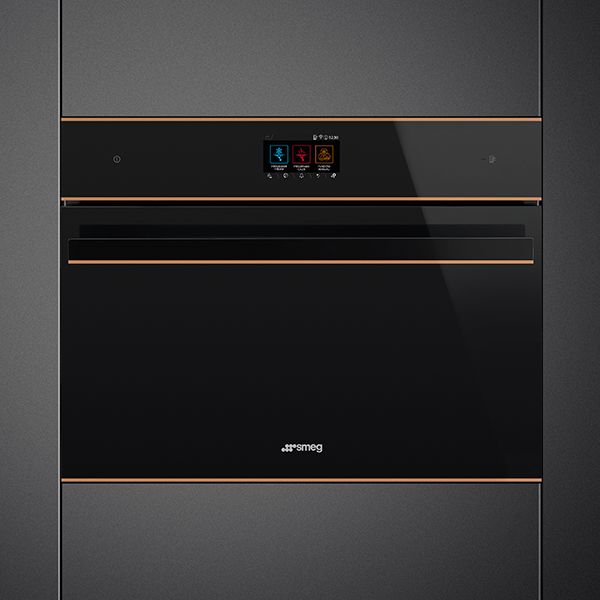
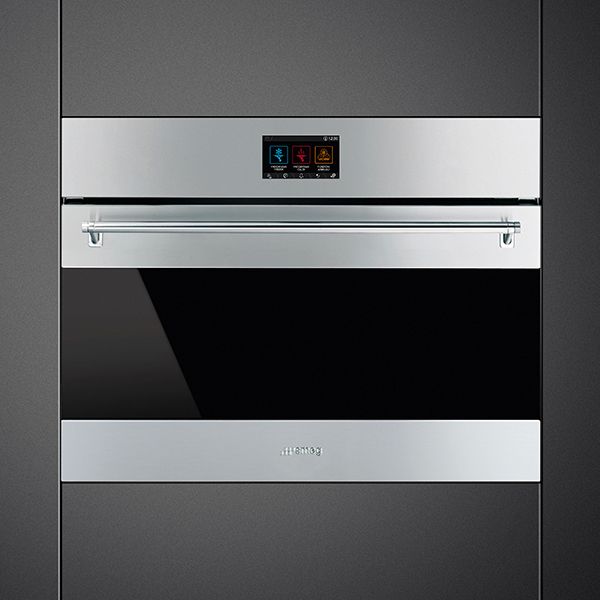
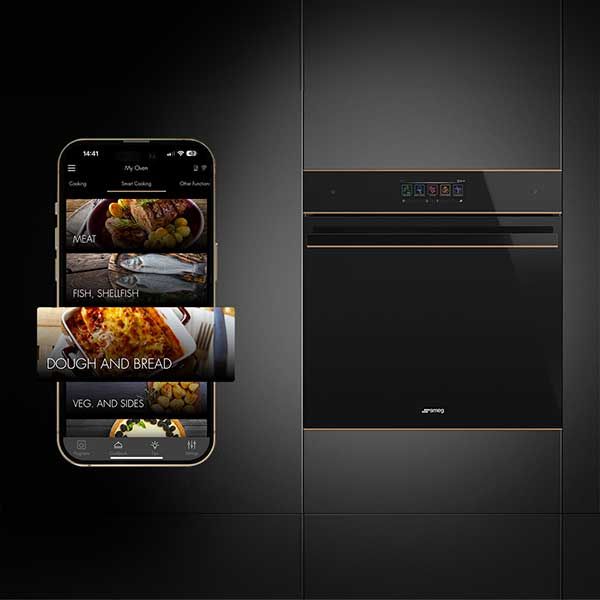
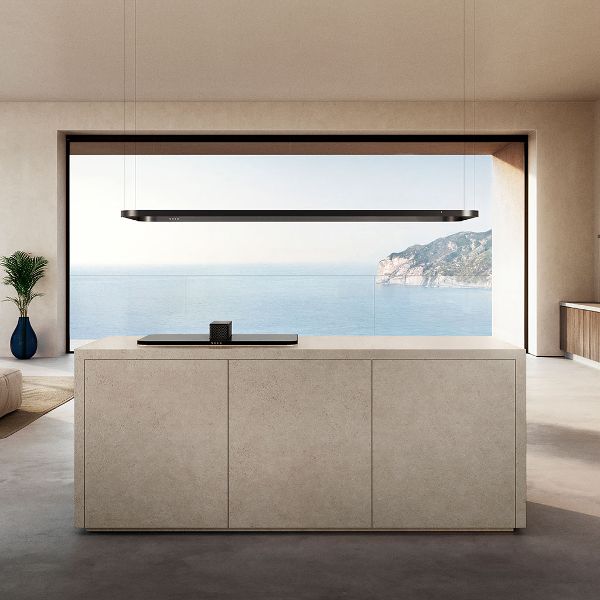
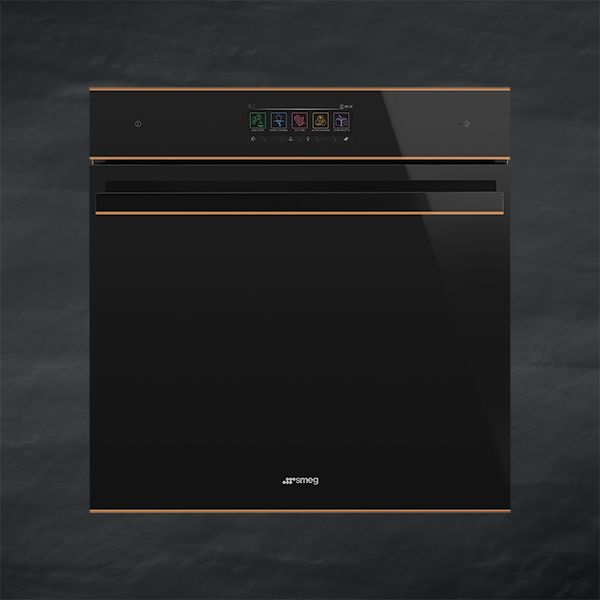
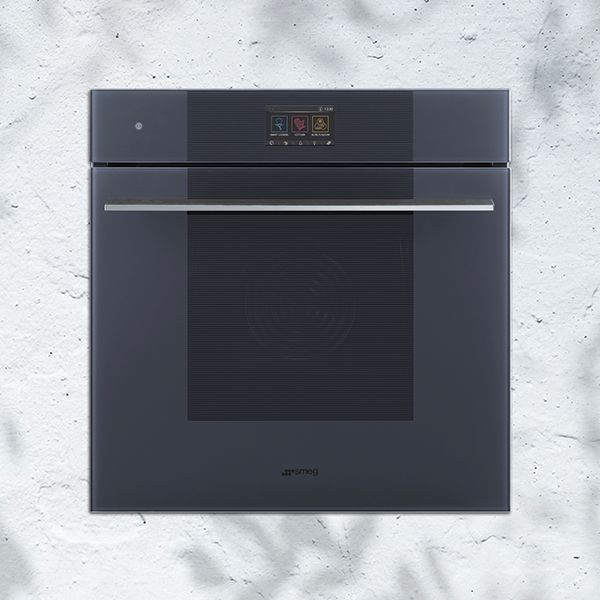
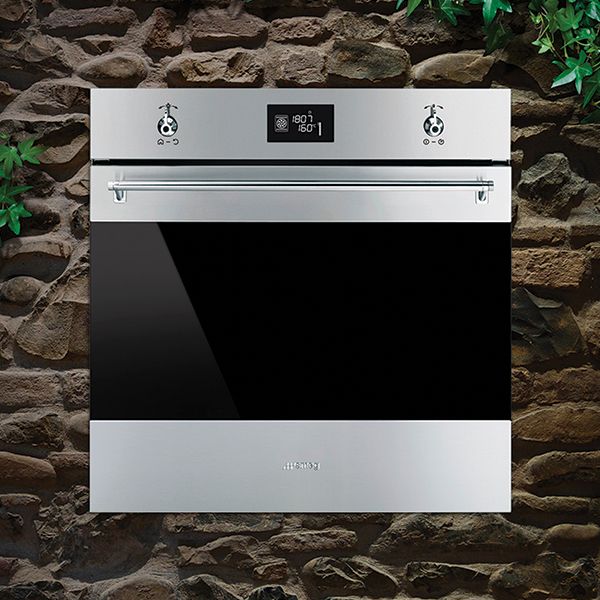
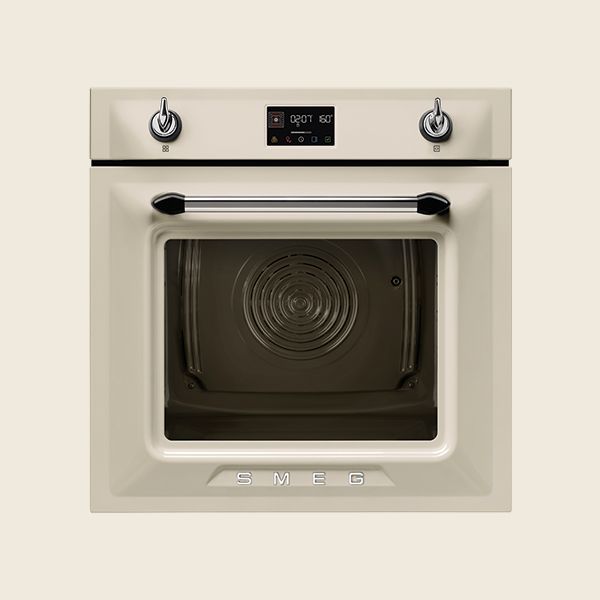
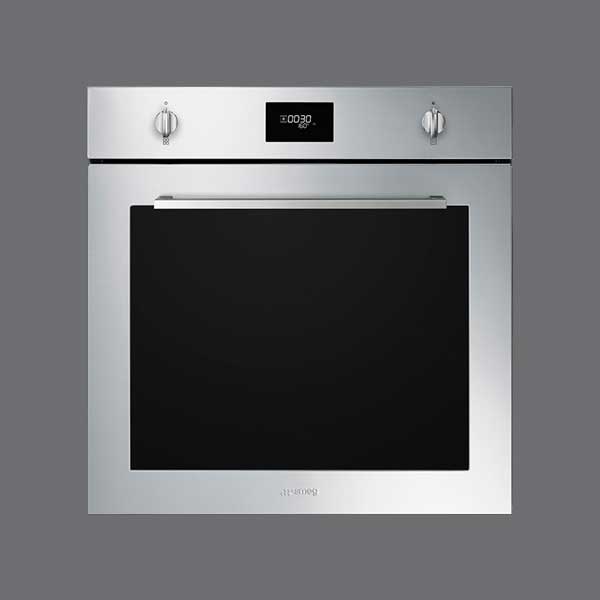
- Ovens
-
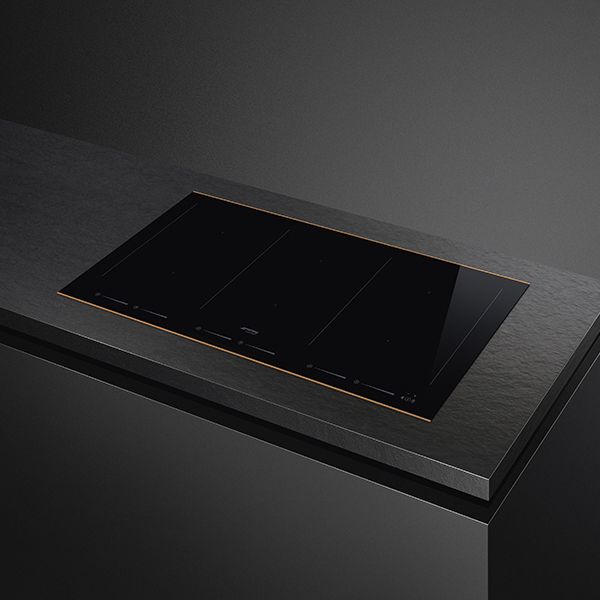
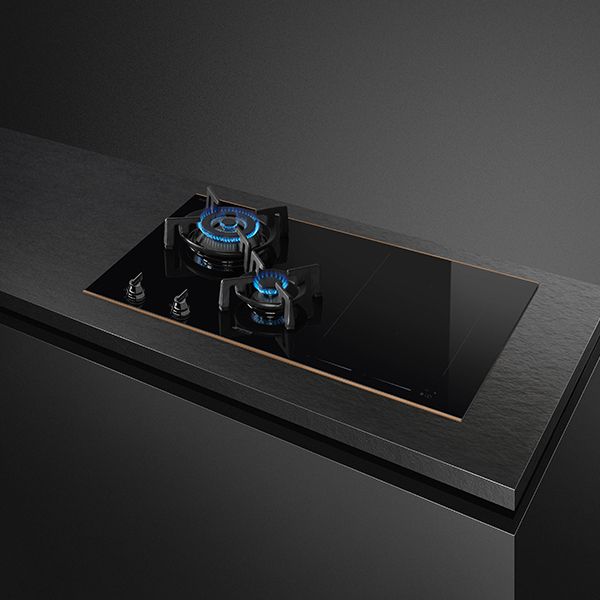
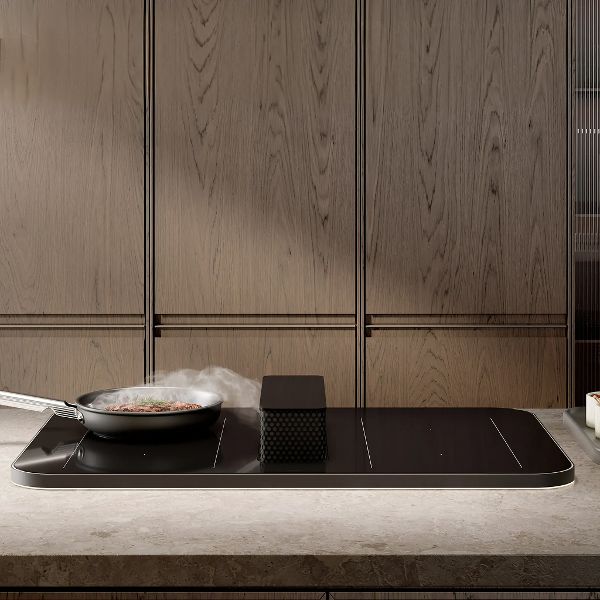
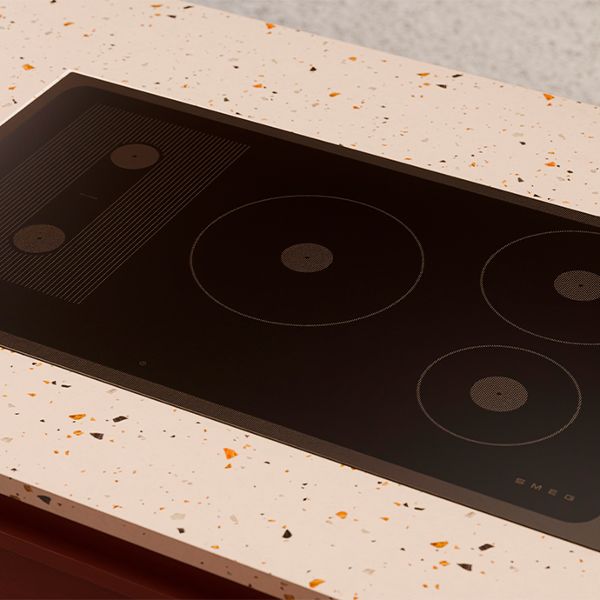
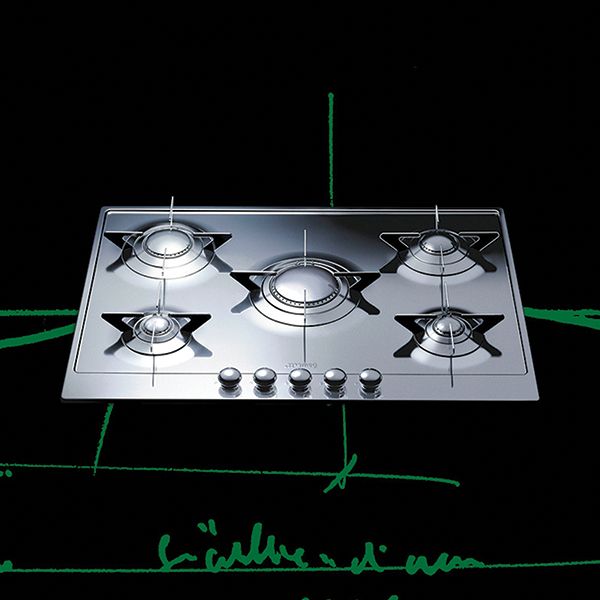
Hobs
See more
-
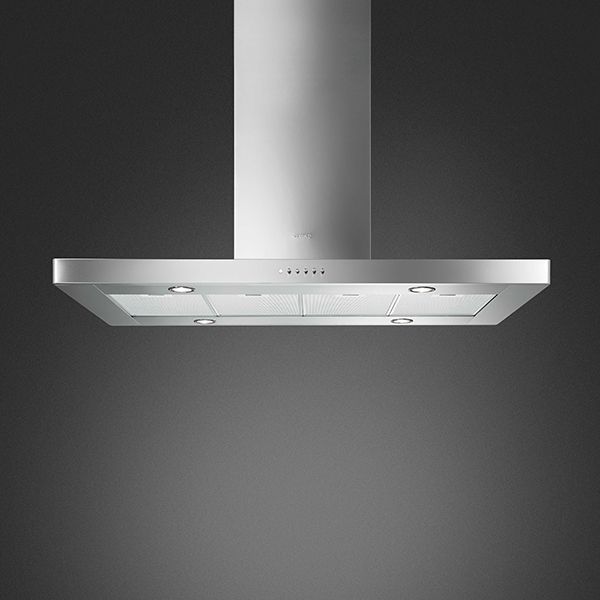
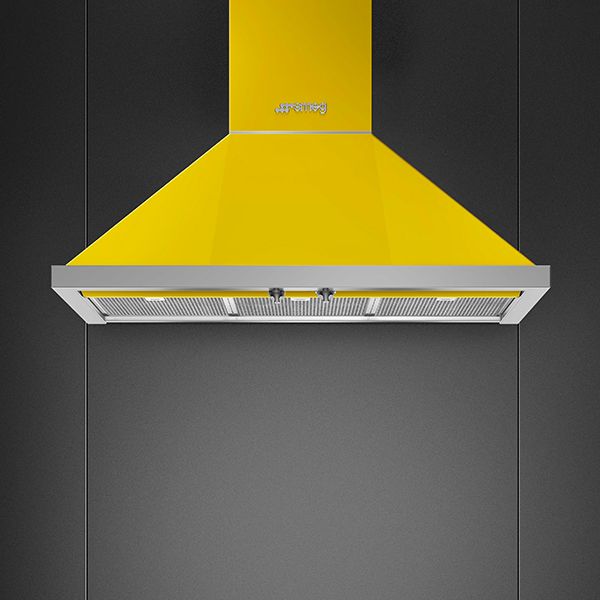
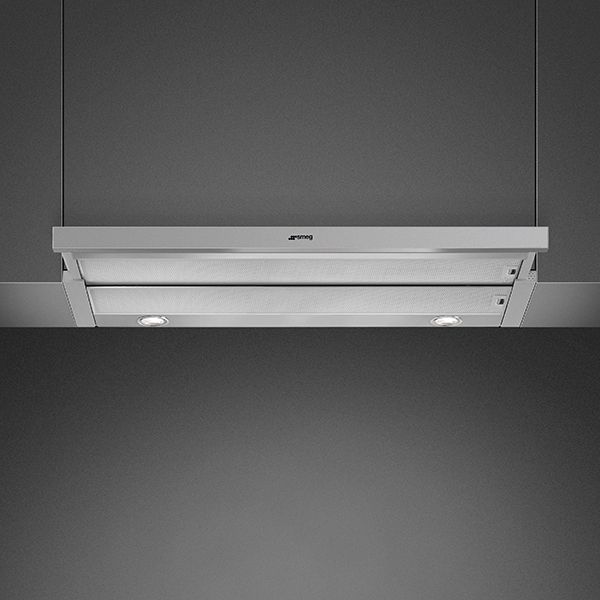
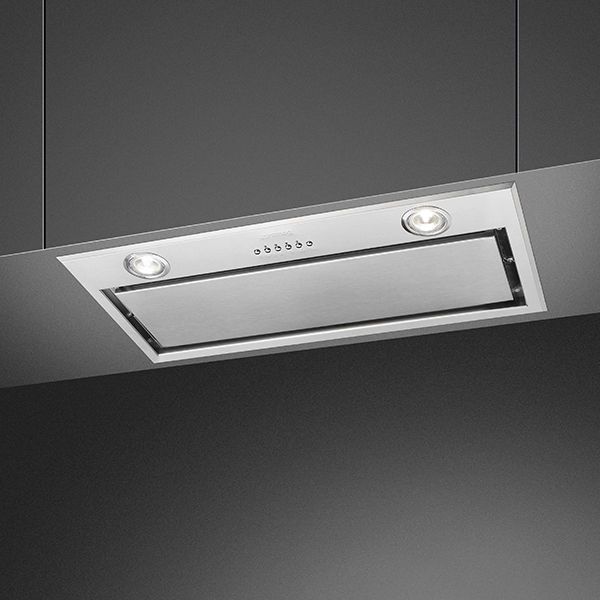
Cooker hoods
See more
- Lighting rails
-
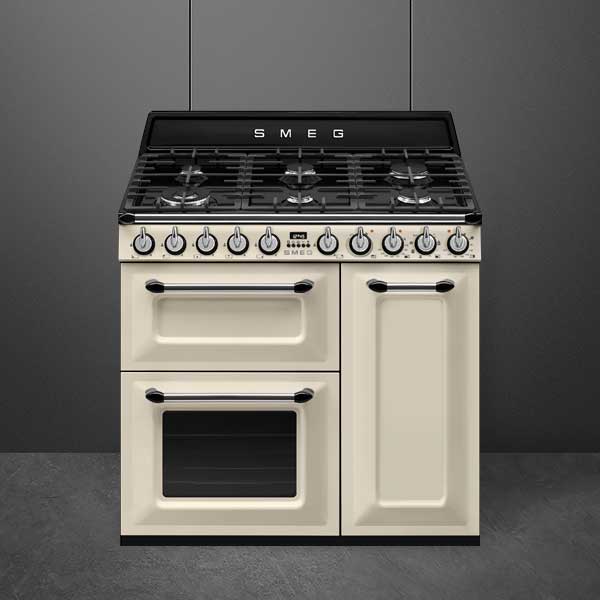
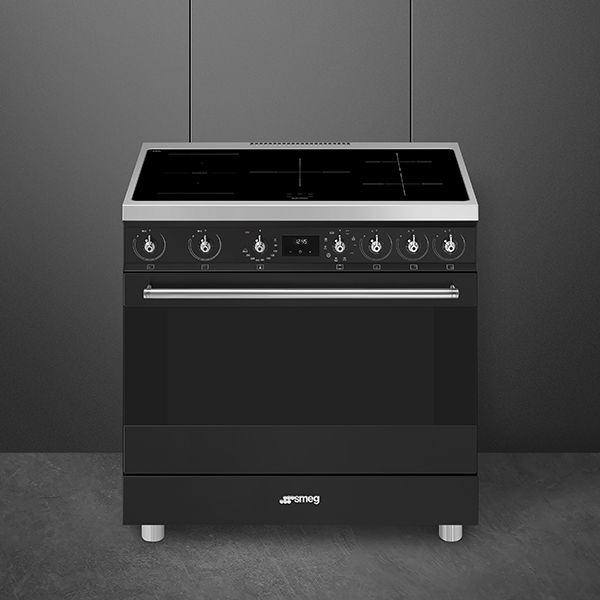
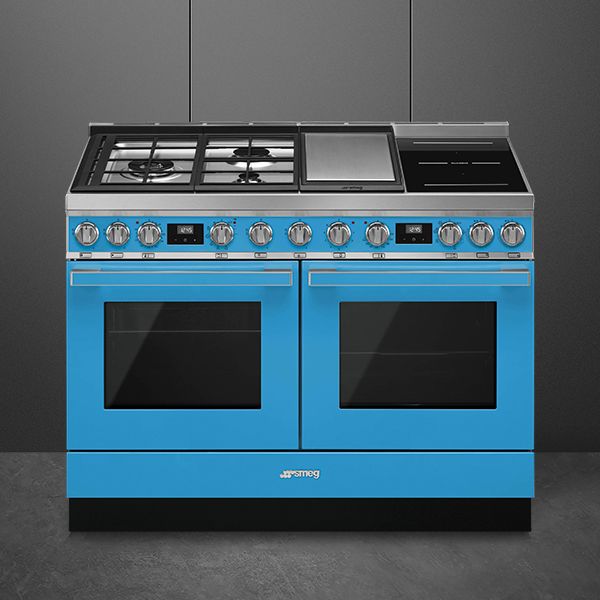
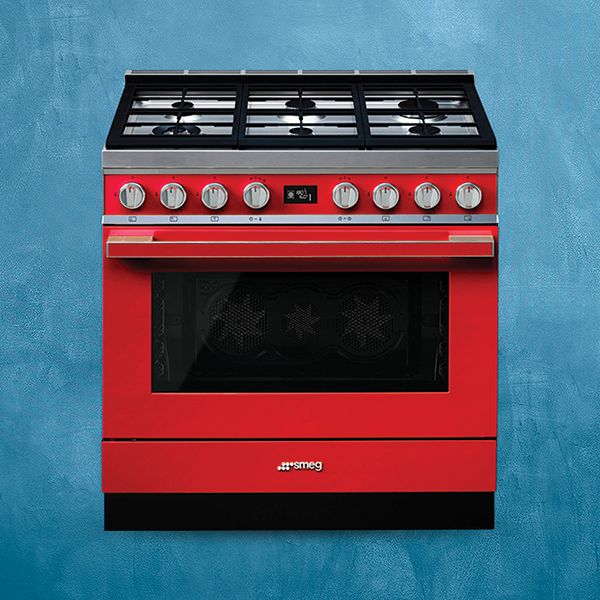
Cookers
See more
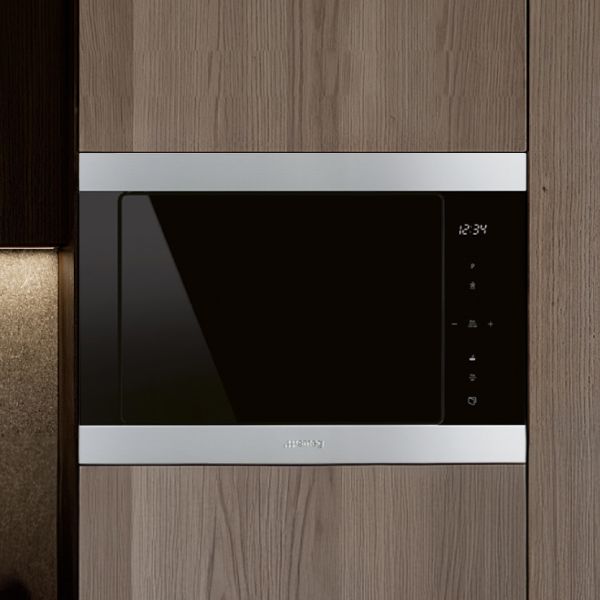
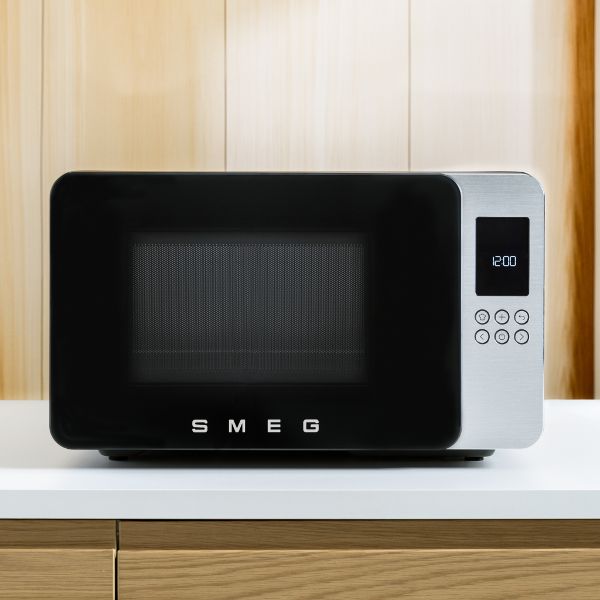
- Microwaves
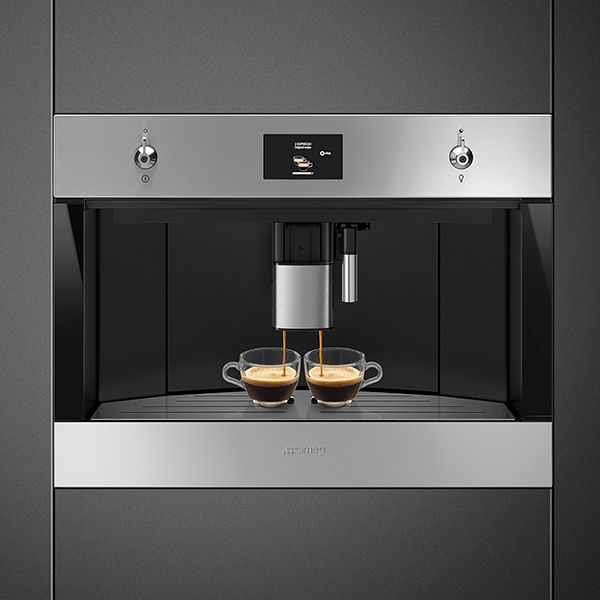
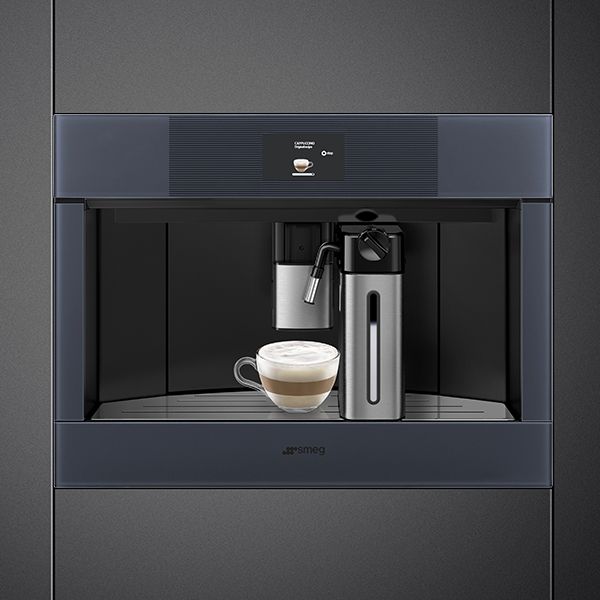
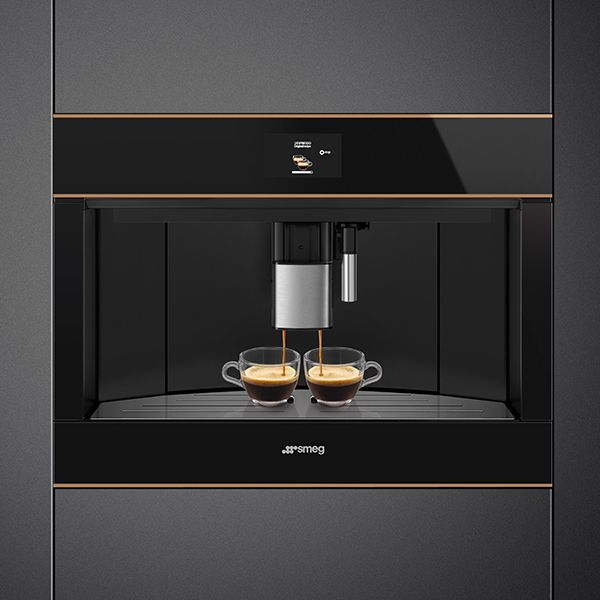
- Built-in coffee machines
- Built-in drawers
-
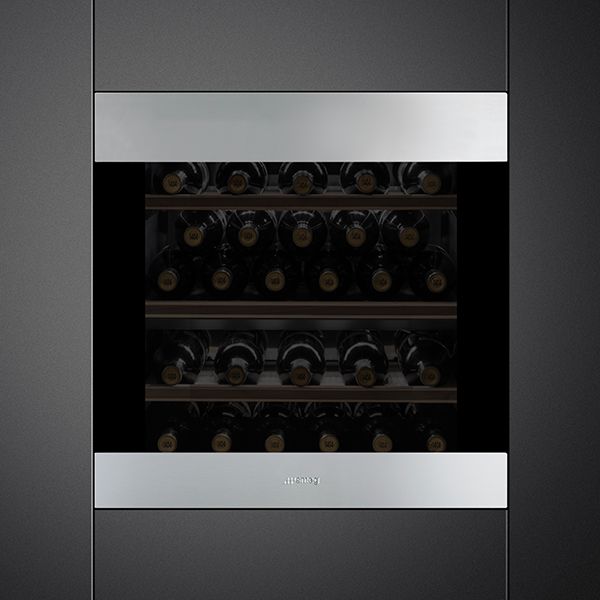
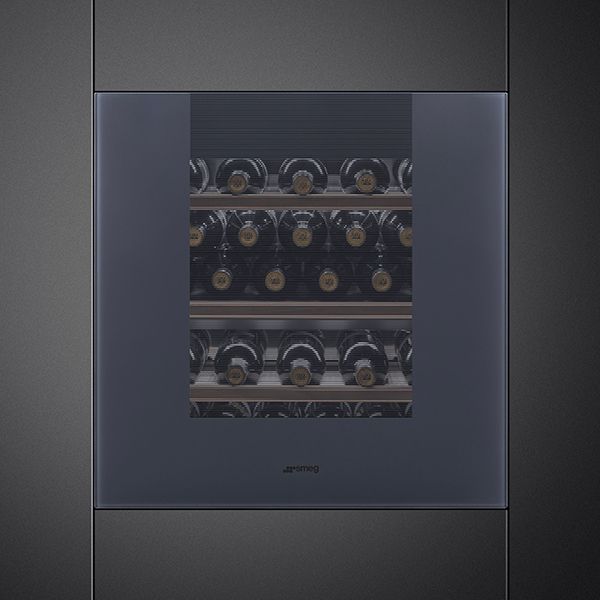
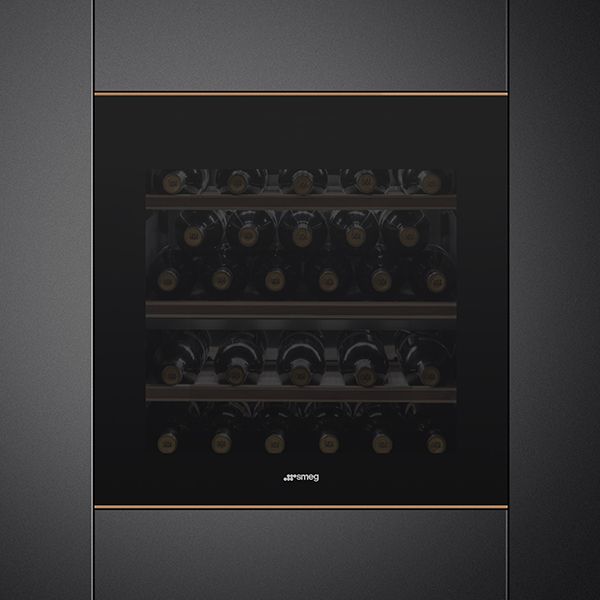
Wine coolers
See more
-
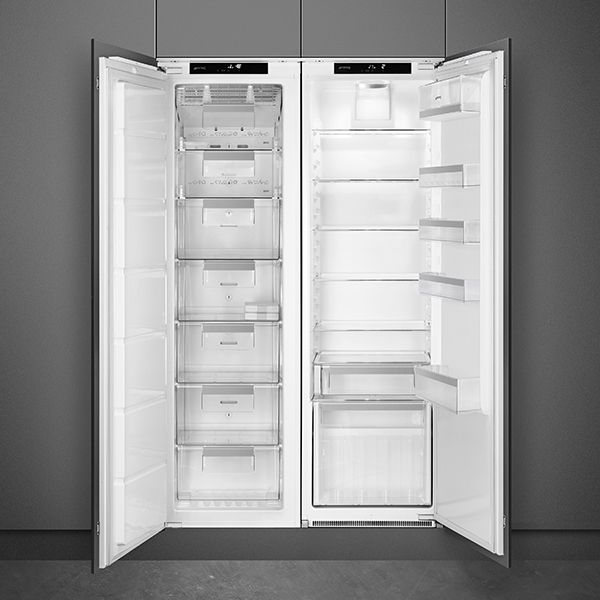
Fridge freezers
See more
- Freezers
-
Blast chillers
See more
-
Laundry
See more
-
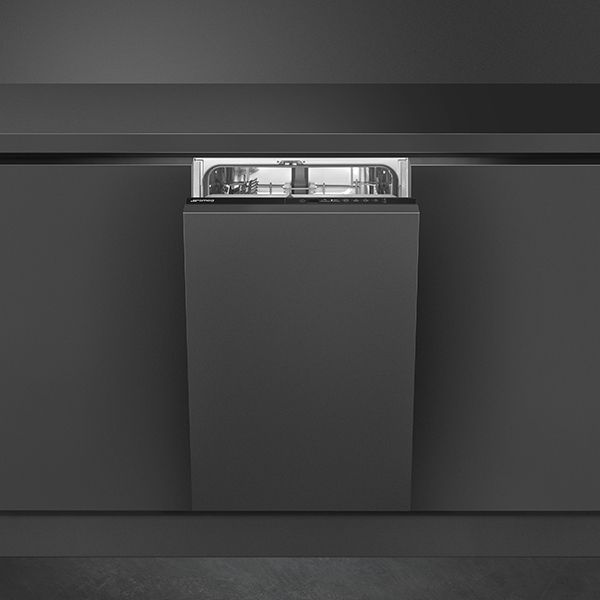
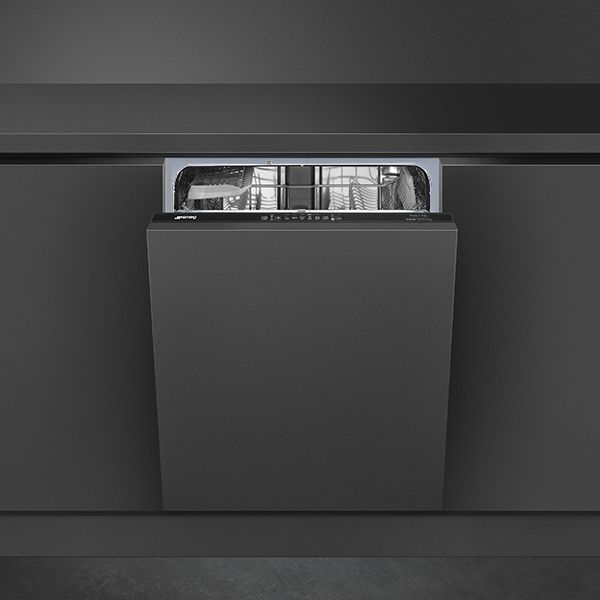
Dishwashers
See more
-
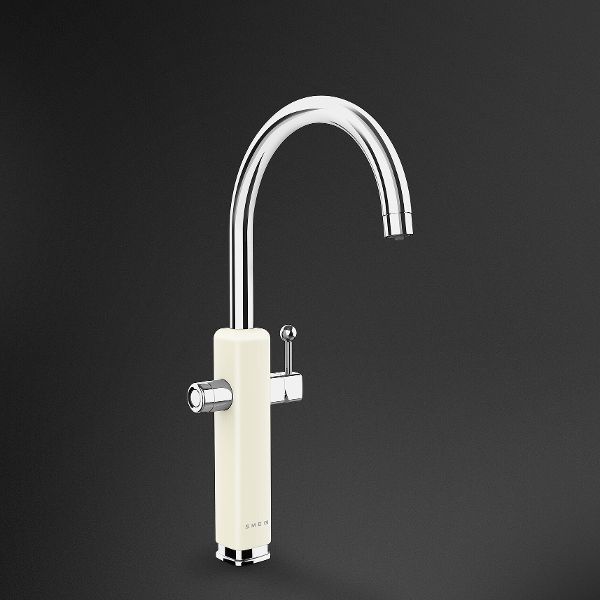
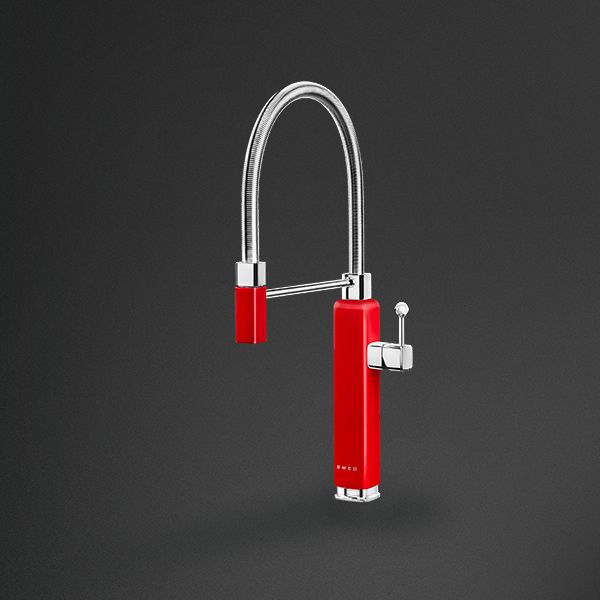
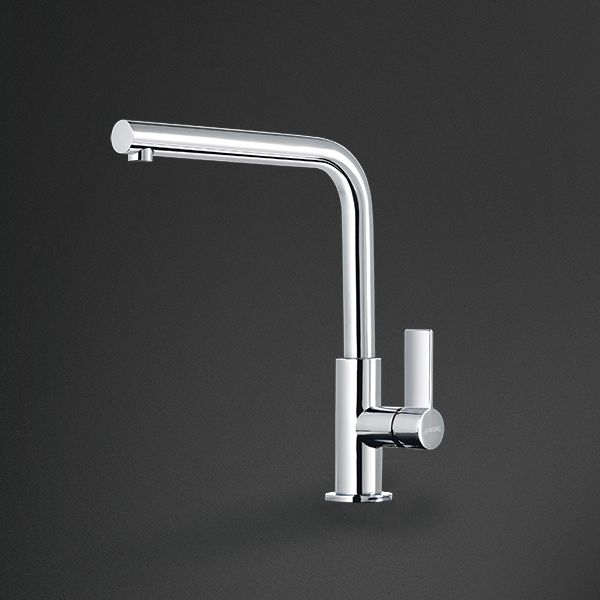
Taps
See more
-
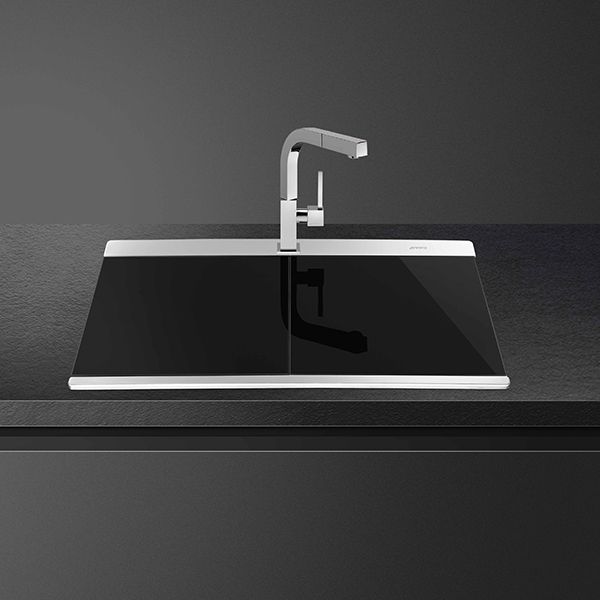
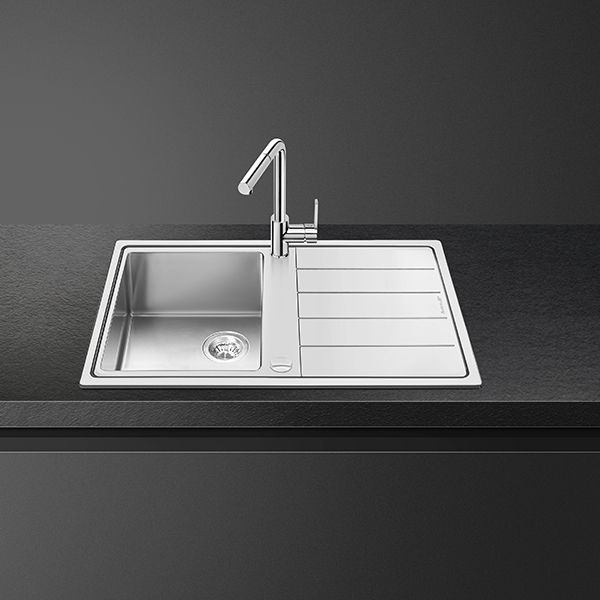
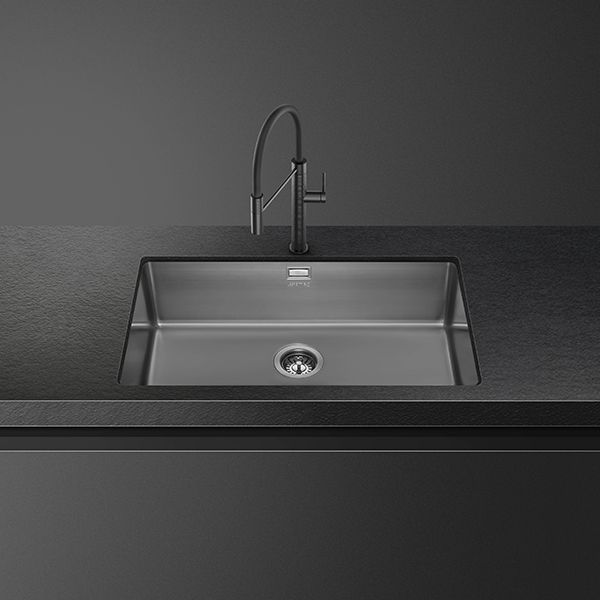
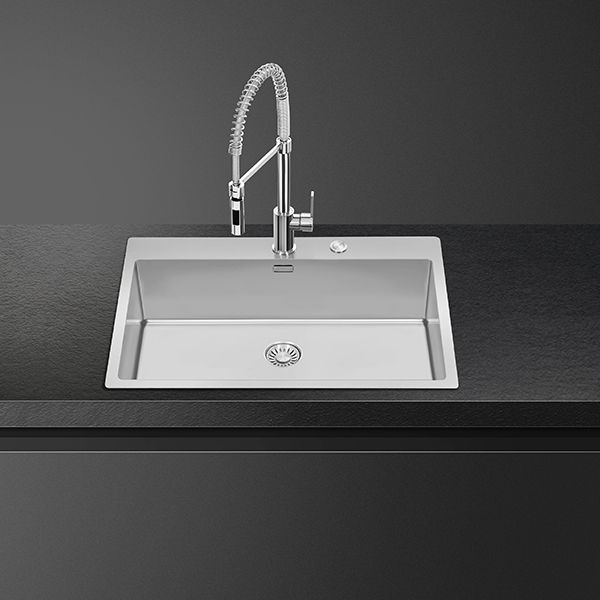
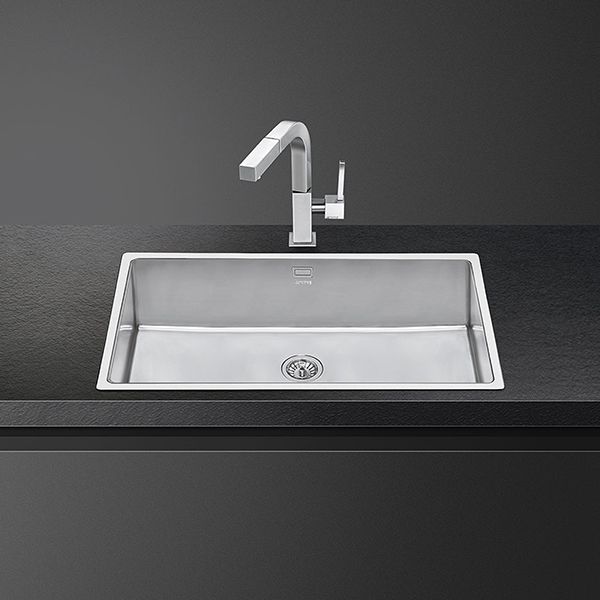
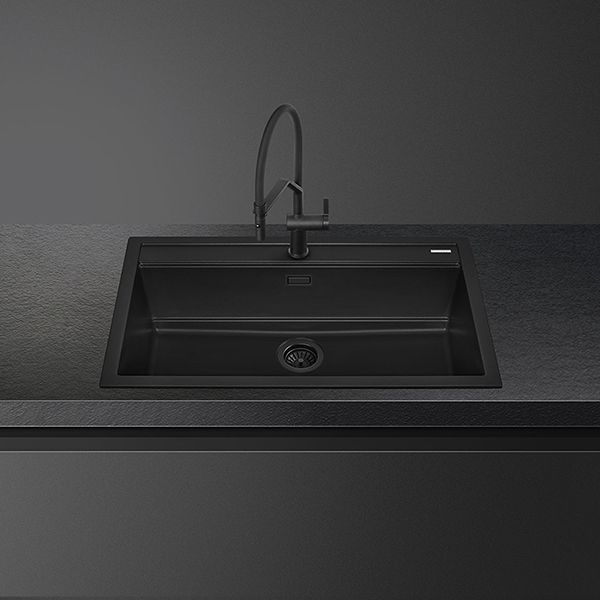
Sinks
See more
-
SmegConnect App
See more
- Vitality system
- Accessories
- Cleaning and maintance
- Sabbath appliances
-
SMALL APPLIANCES
See more
- See all Small appliances
- BREAKFAST
-
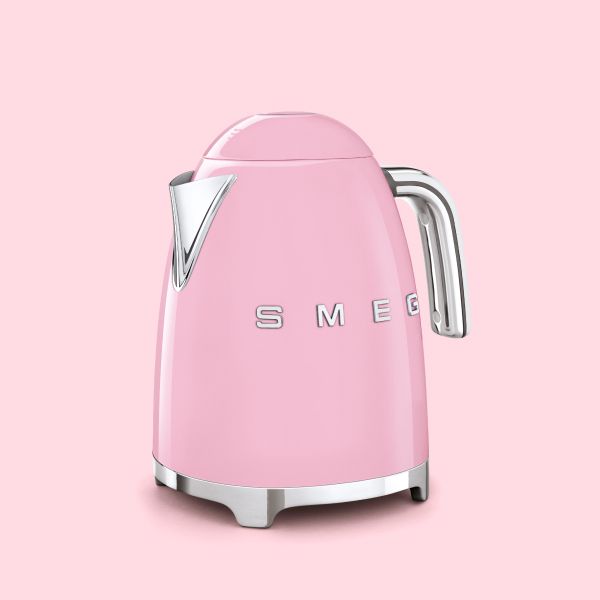
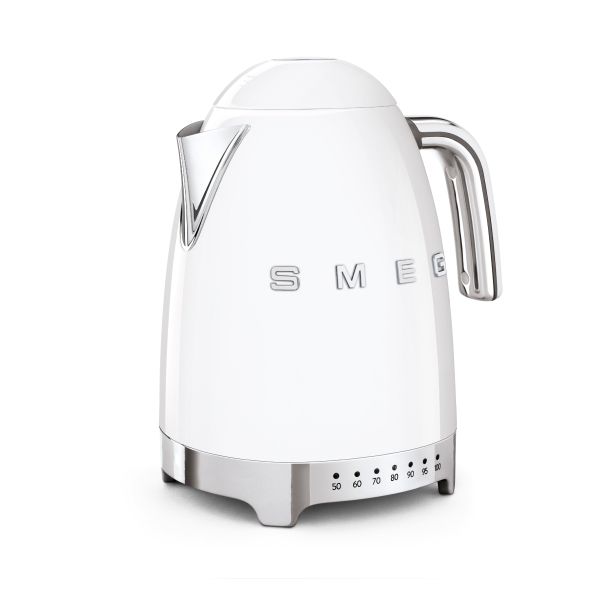
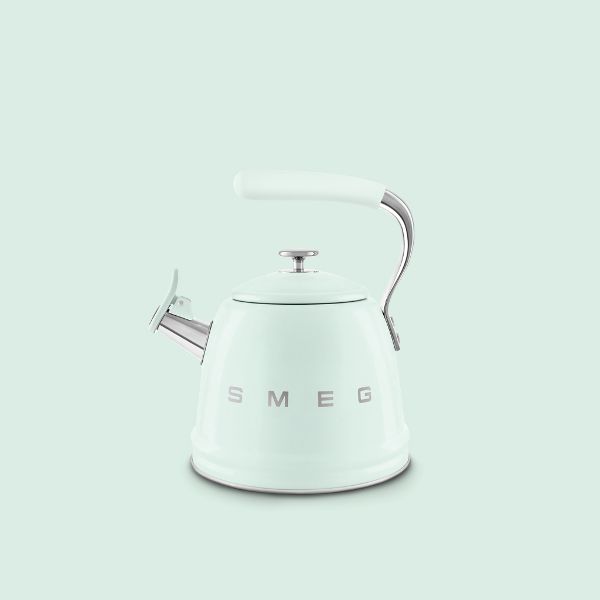
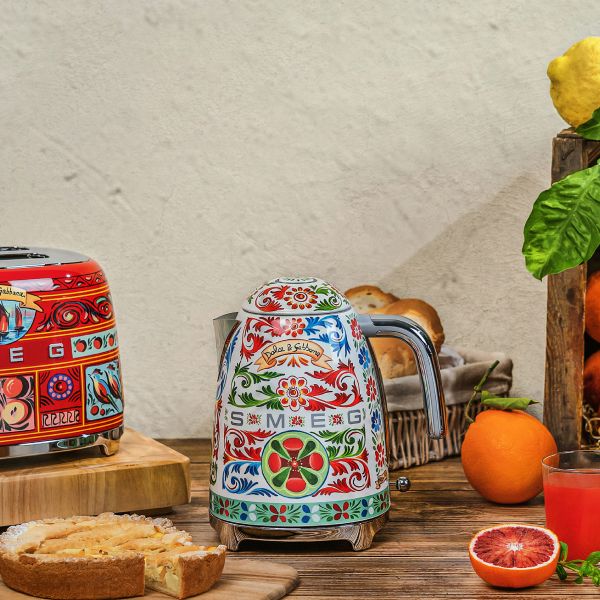
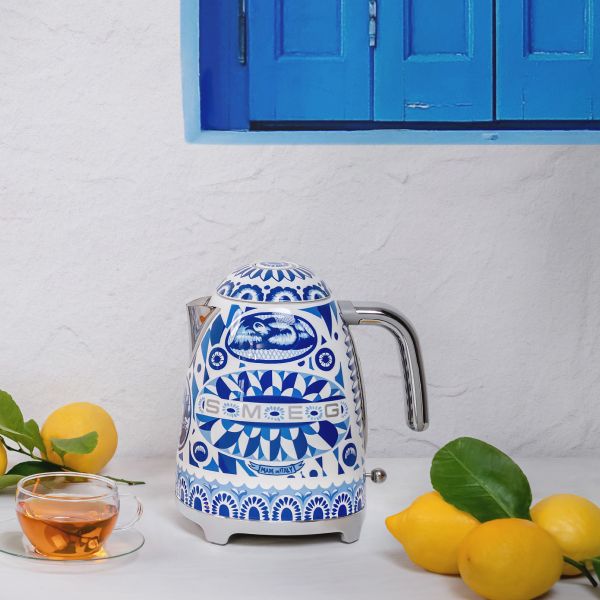
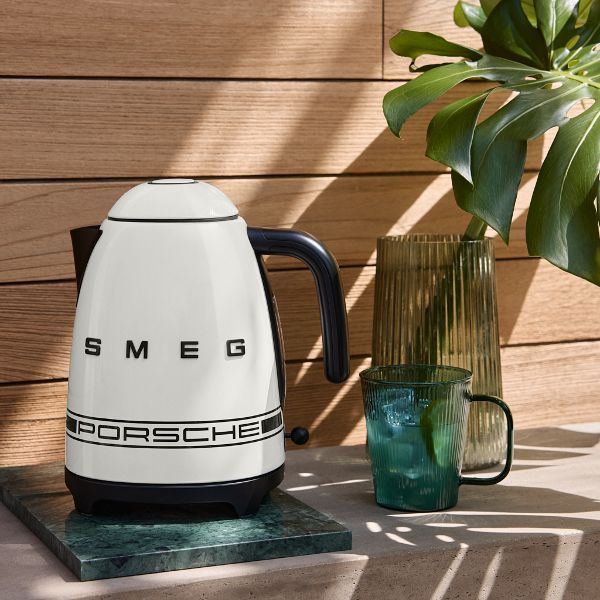
Kettles
See more
-
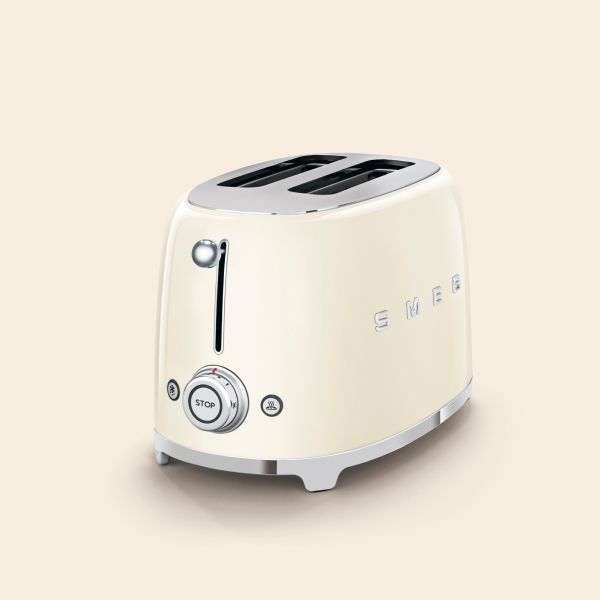
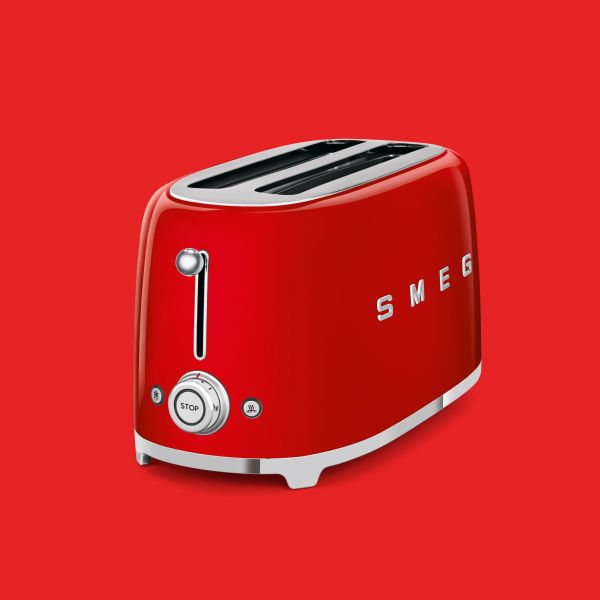
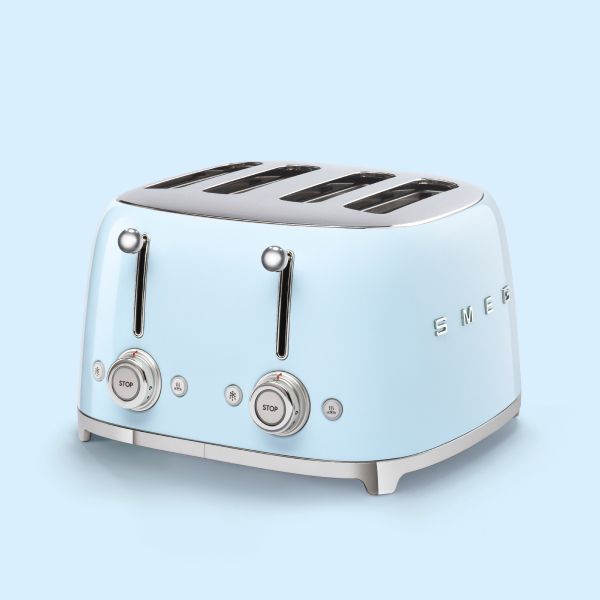
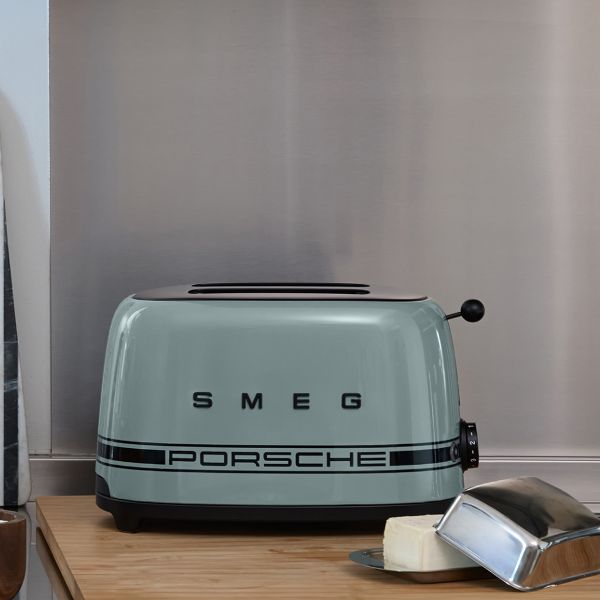
Toasters
See more
- Citrus juicer
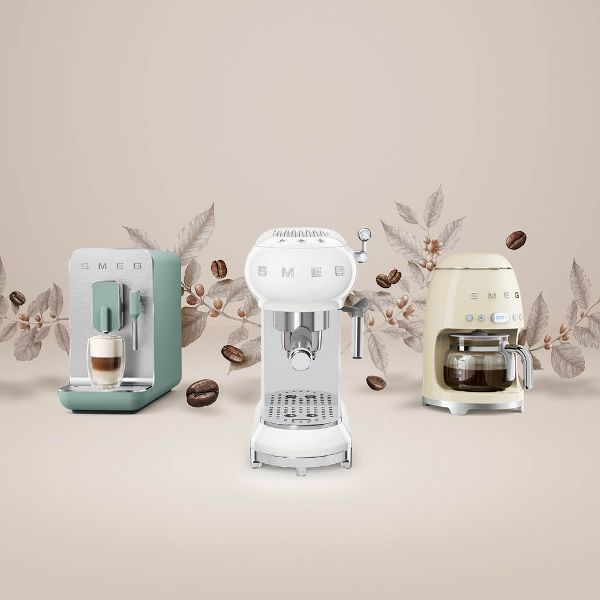
- COFFEE
-
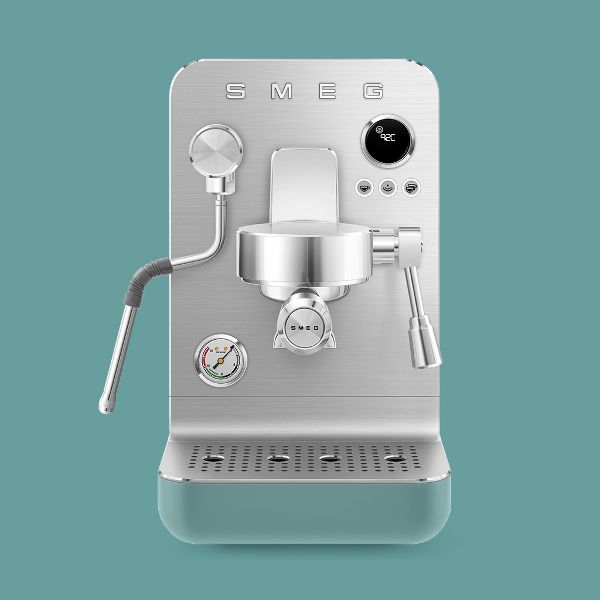
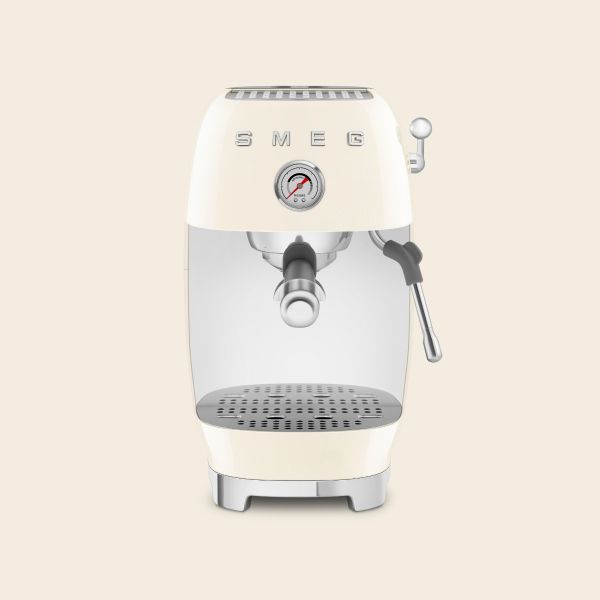
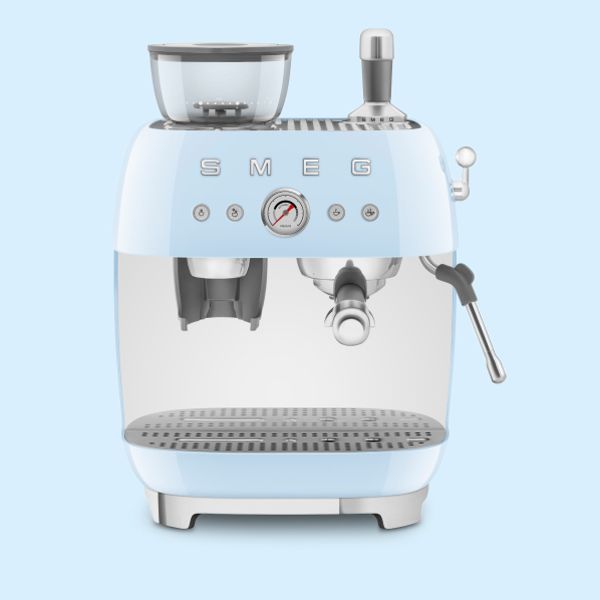
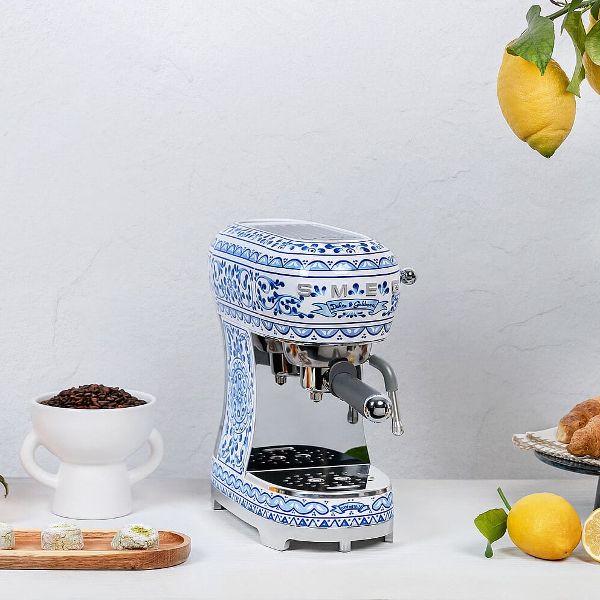
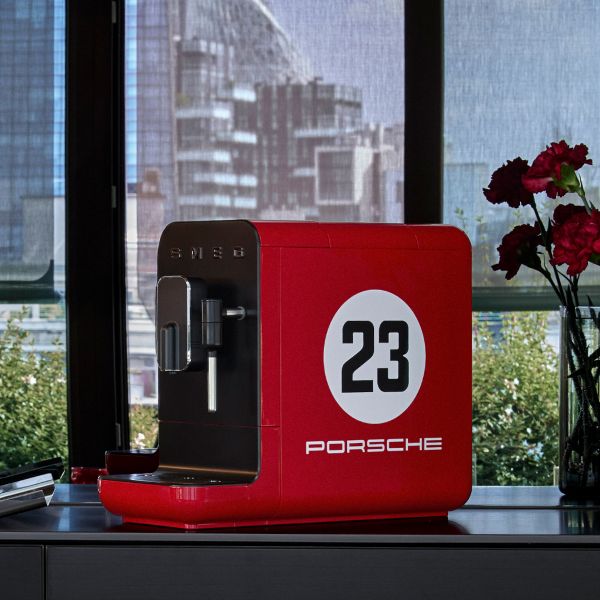
Espresso coffee machines
See more
- Drip filter coffee machine
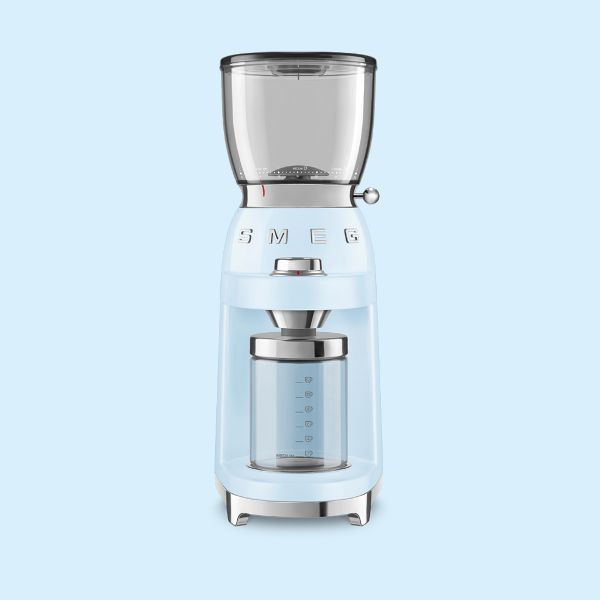
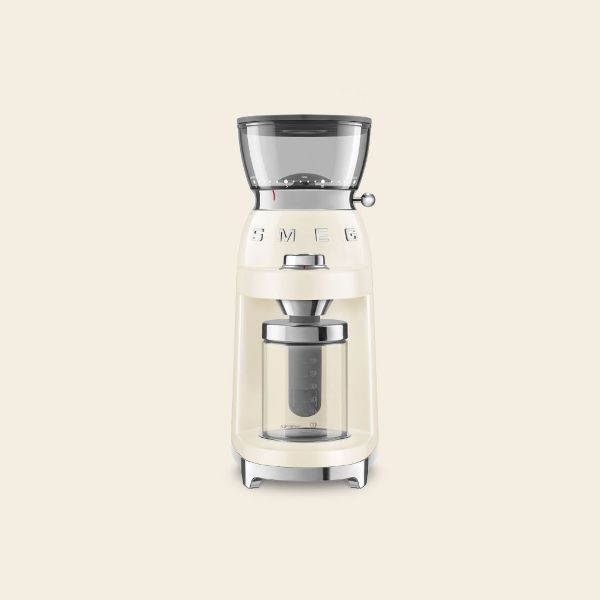
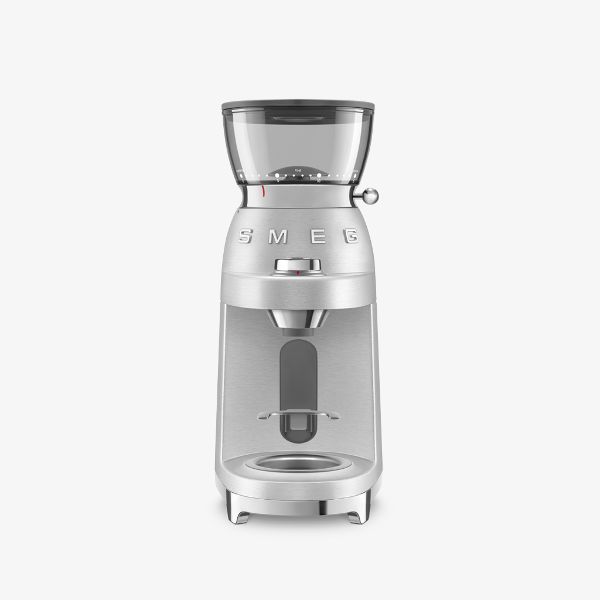
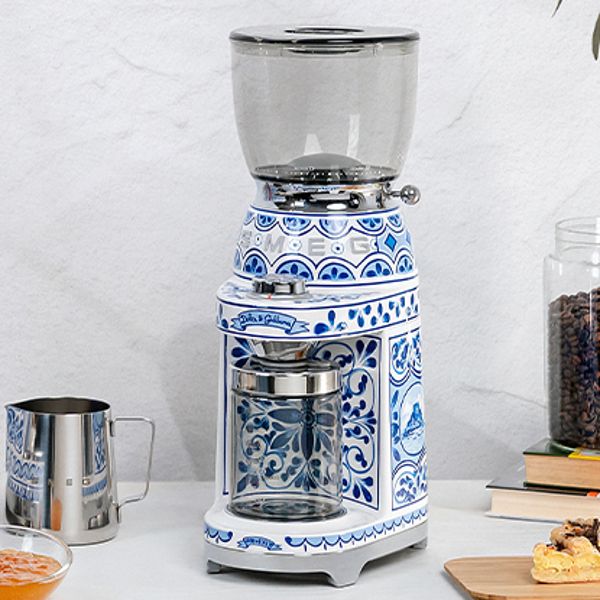
- Coffee grinders
-
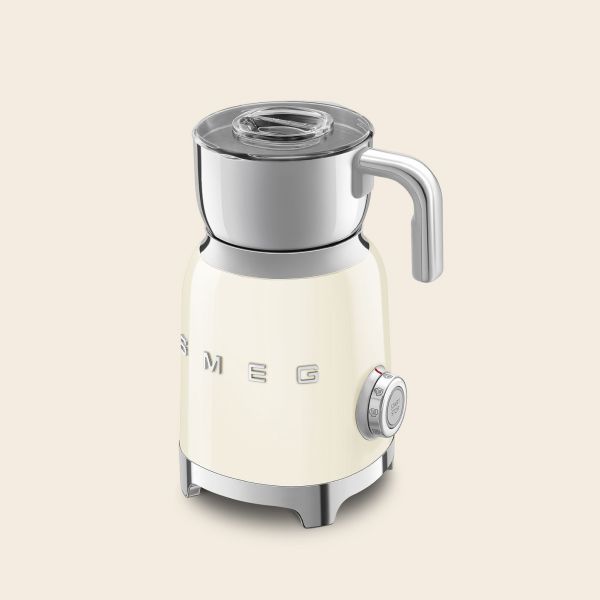
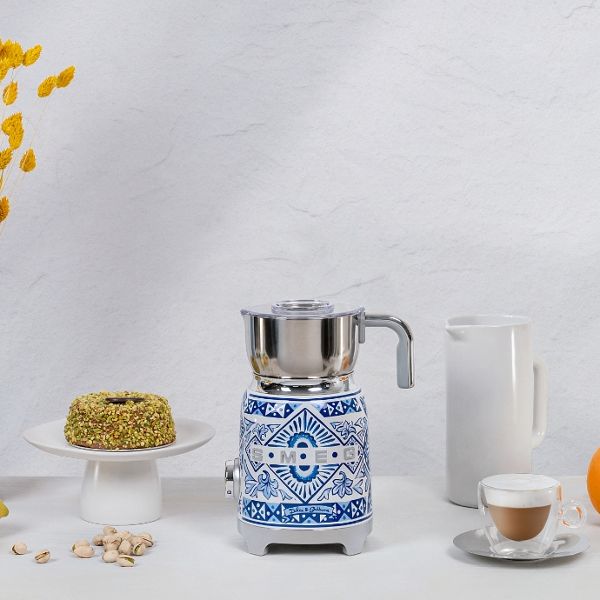
Milk frothers
See more
- WATER
- Water bottles NEW
- Soda maker
- FOOD PREPARATION
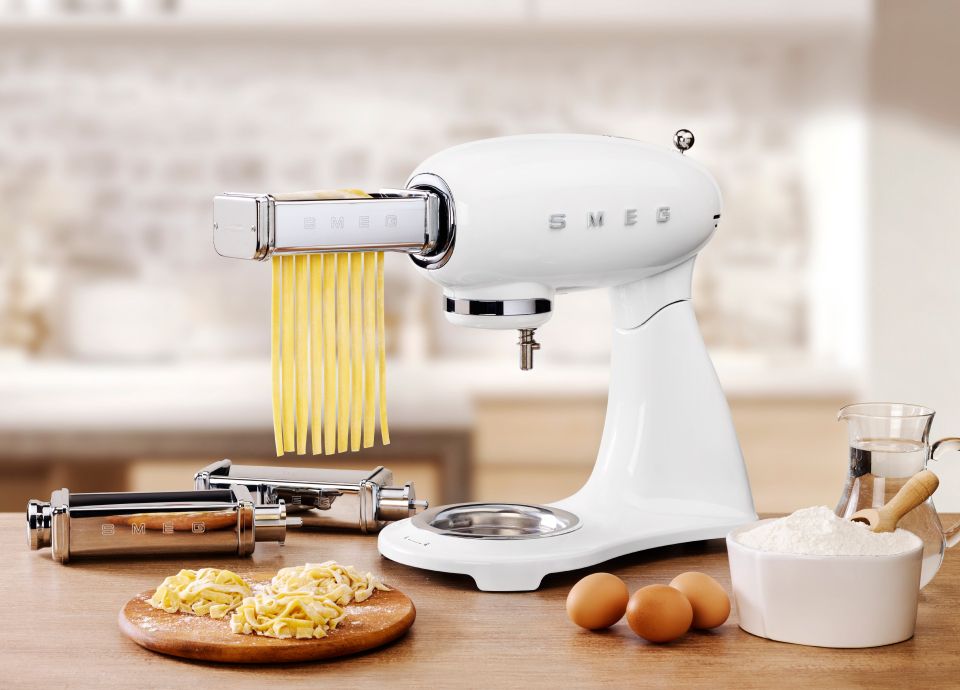
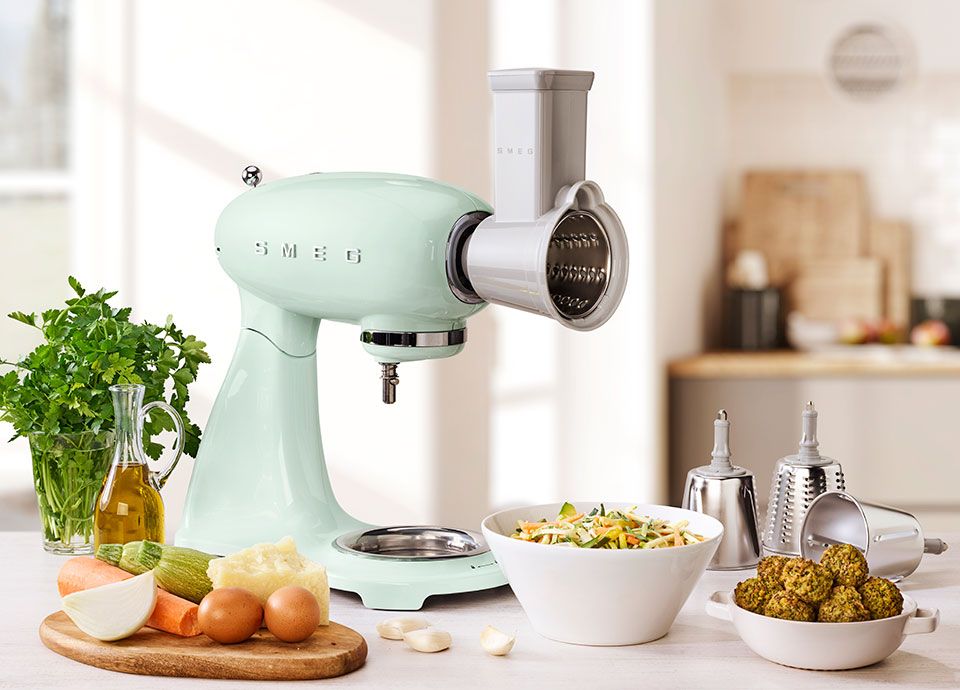
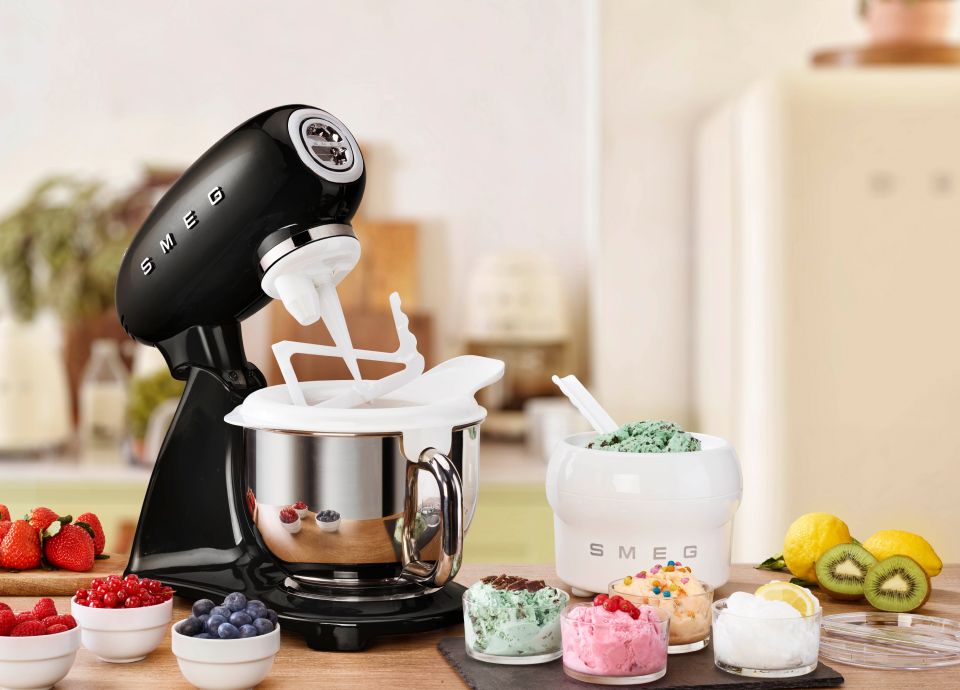
- Stand mixers
- Hand mixers
-
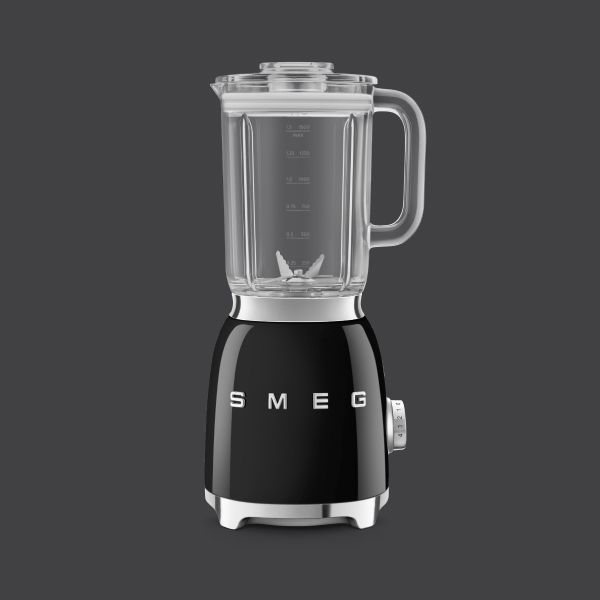
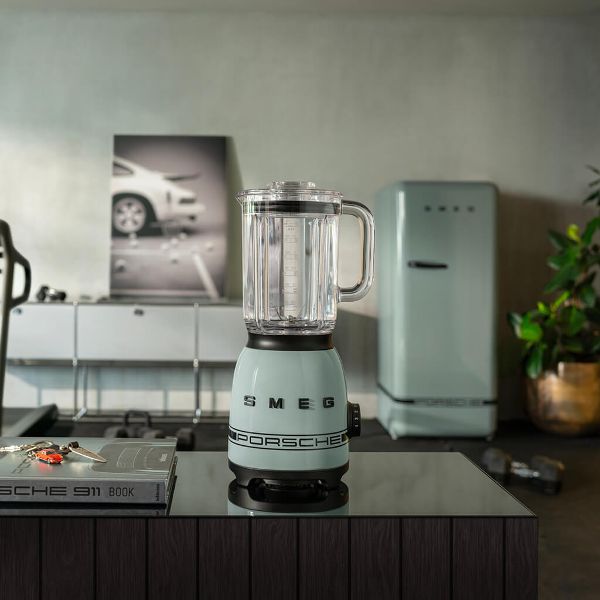
Blenders
See more
- Hand blenders
- Kitchen scales
- KITCHENWARE
-
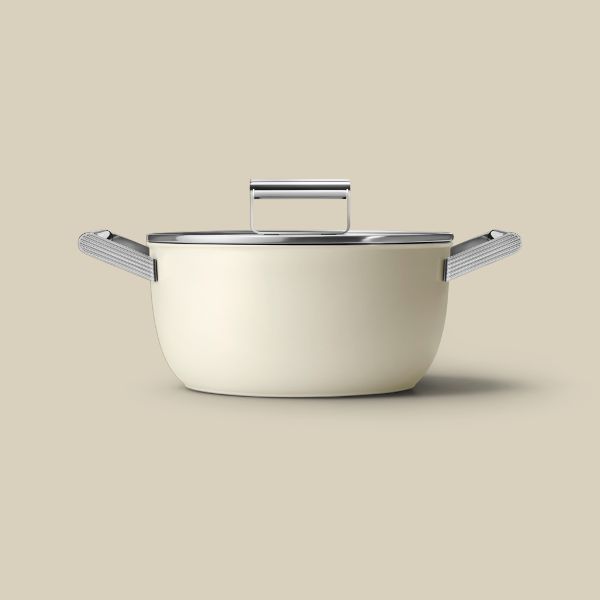
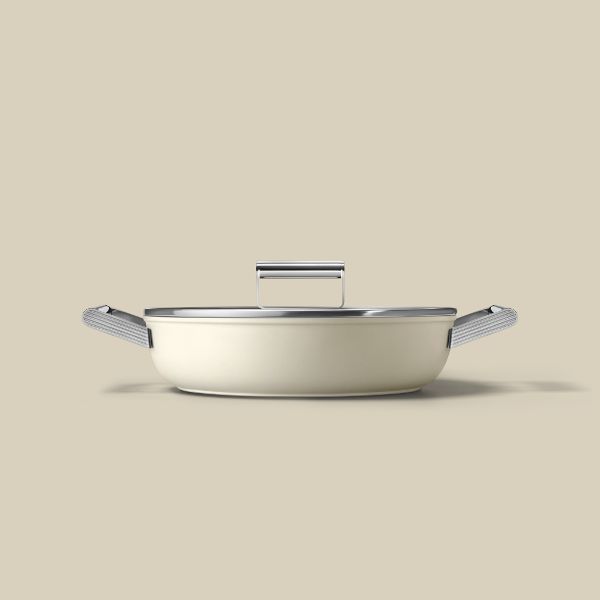
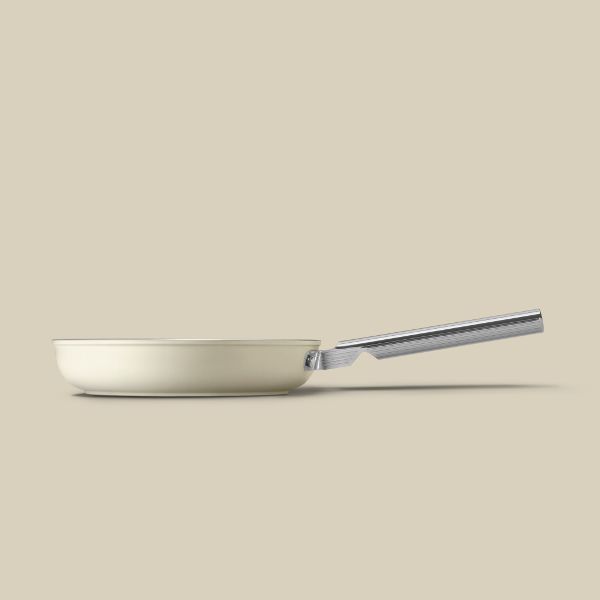
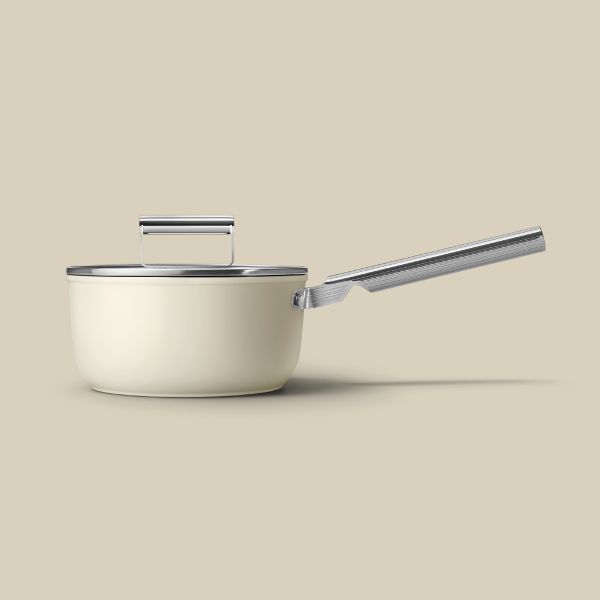
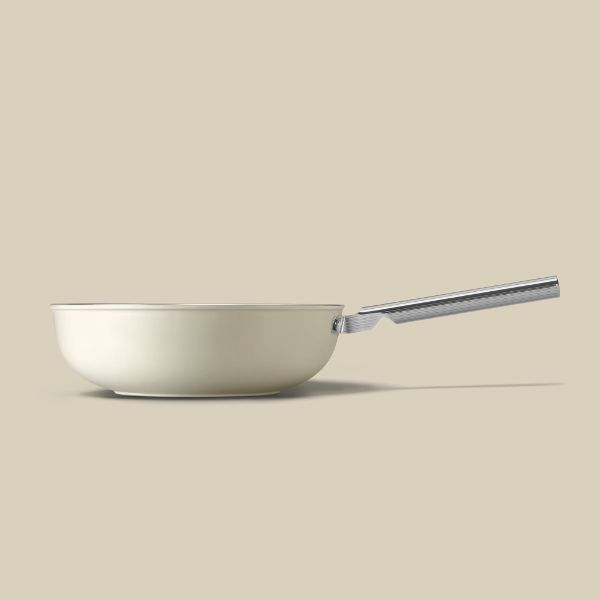
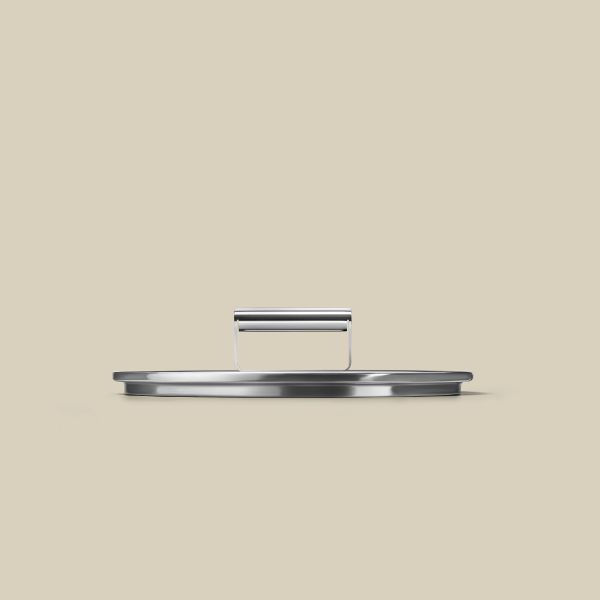
Cookware
See more
- Knife block set
- COOKING
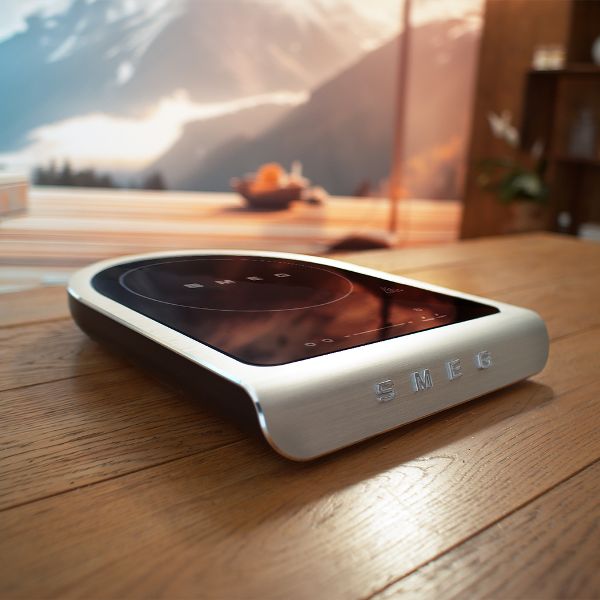
- Portable induction hob
- Countertop ovens and microwaves
- Accessories
-
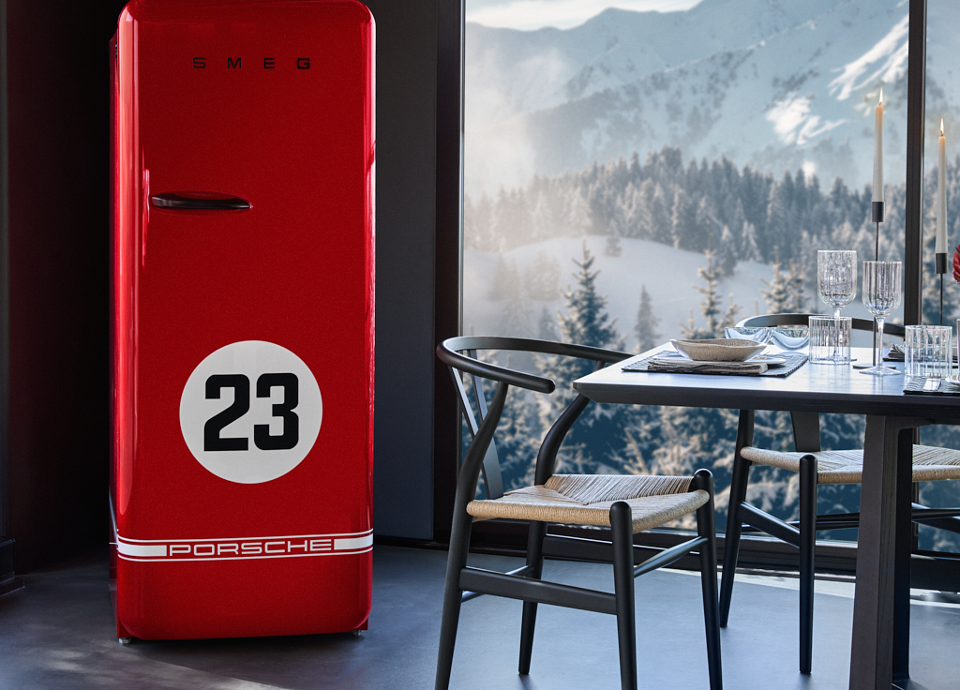
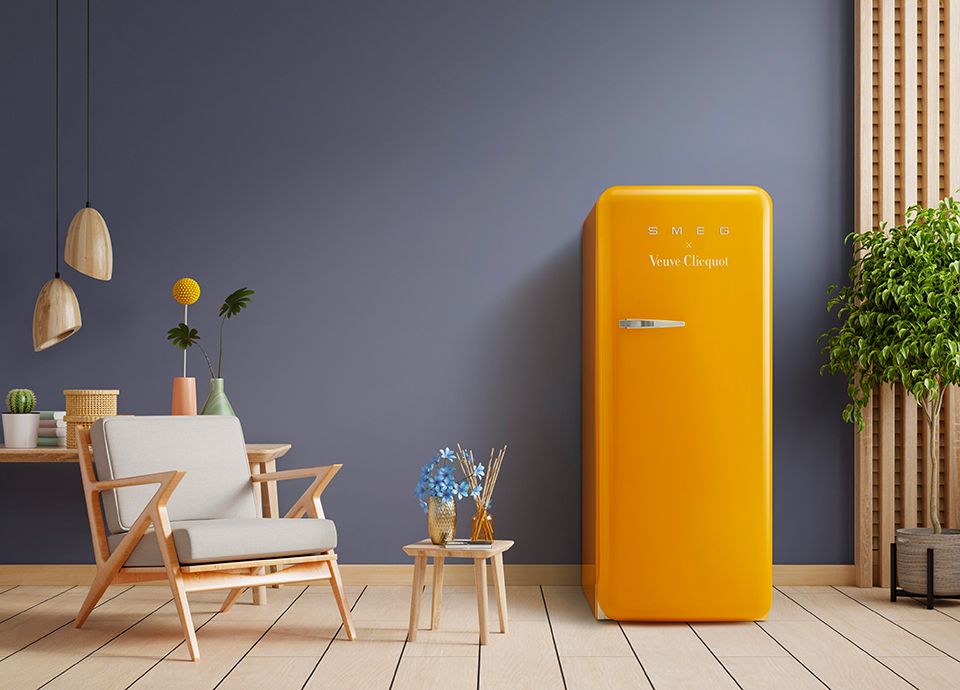
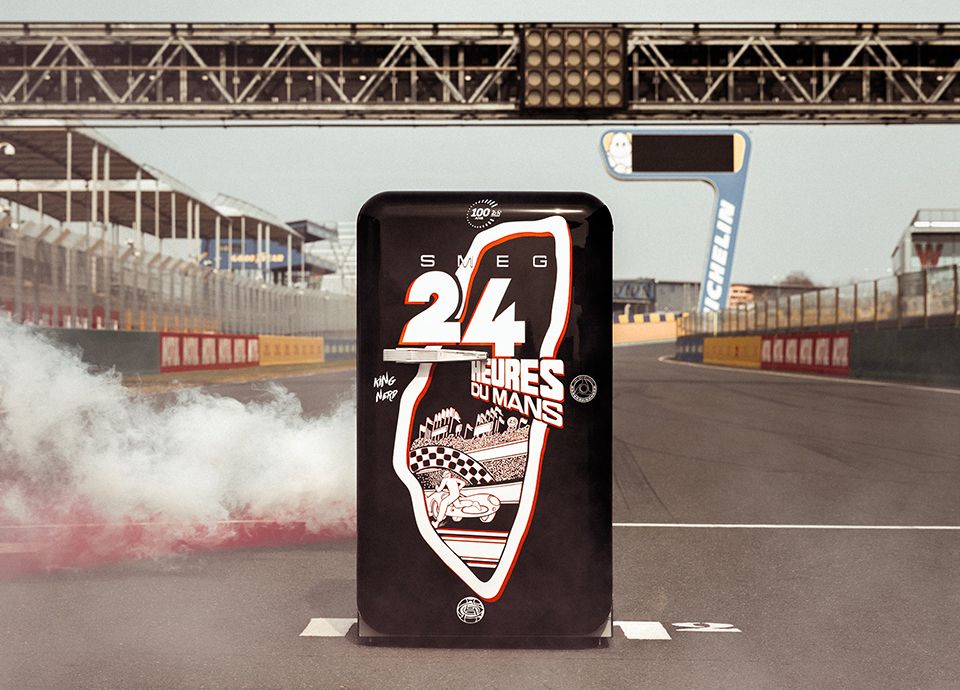
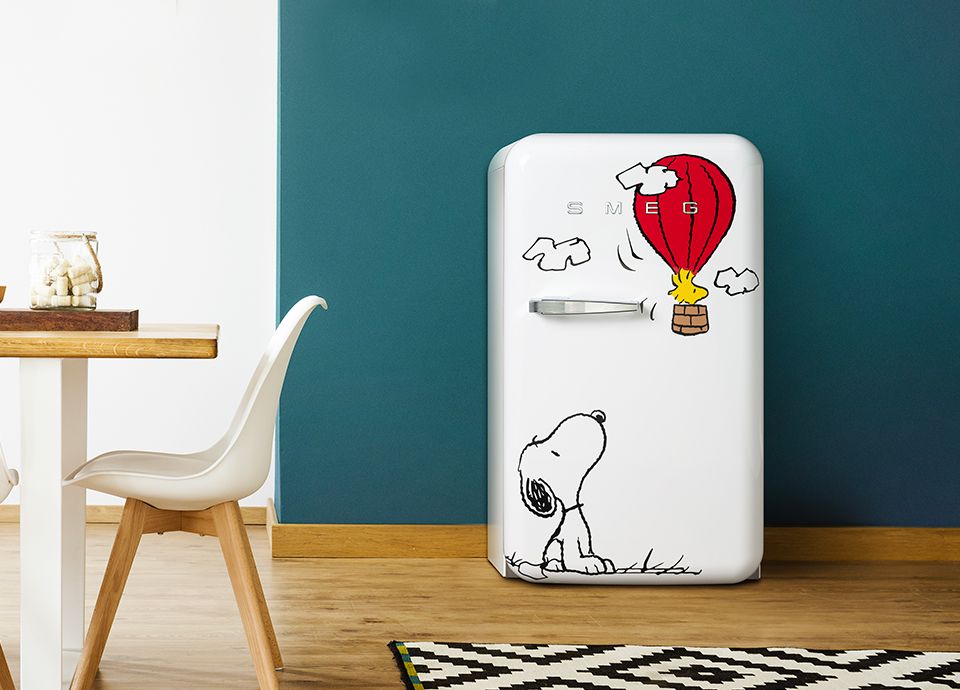
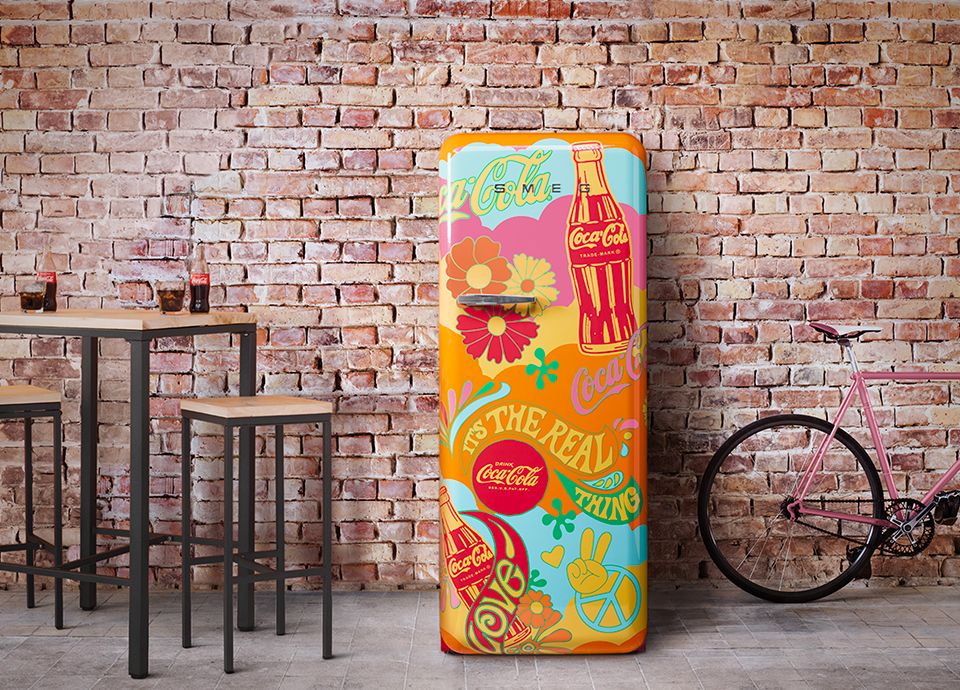
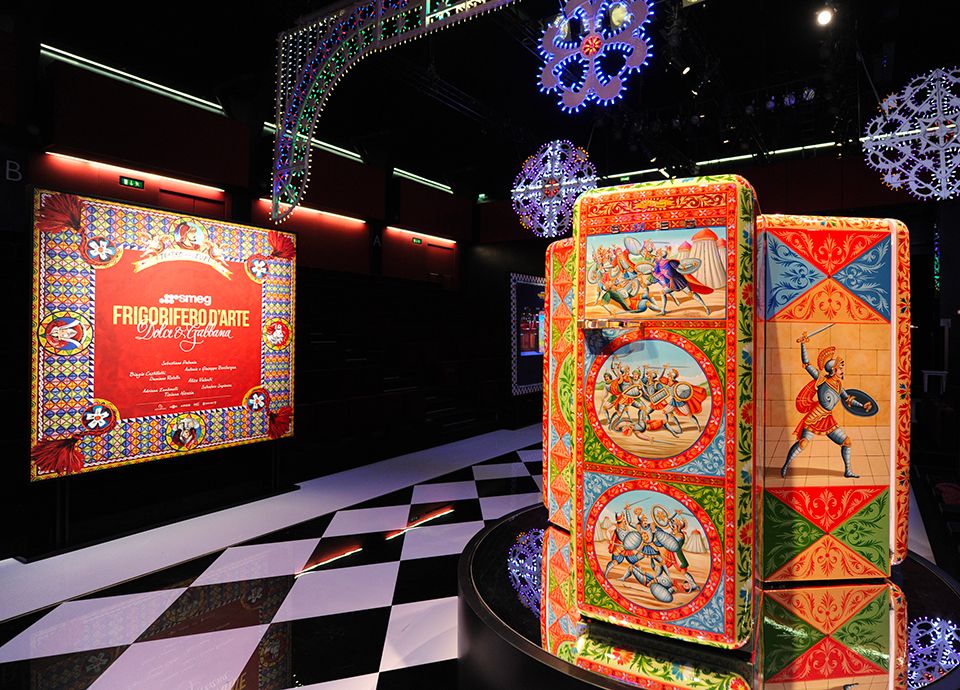
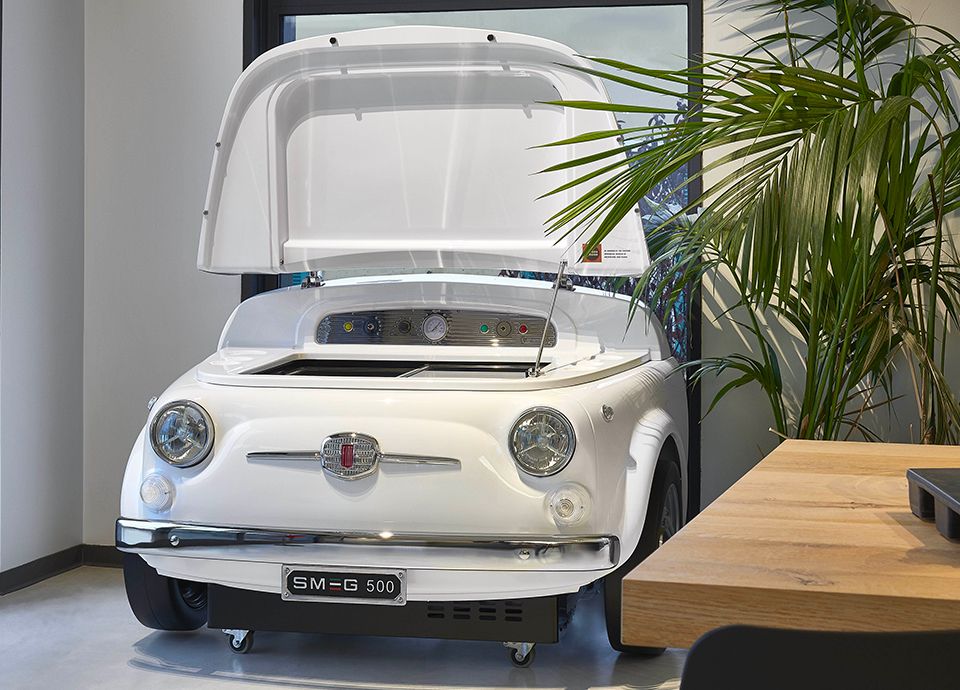
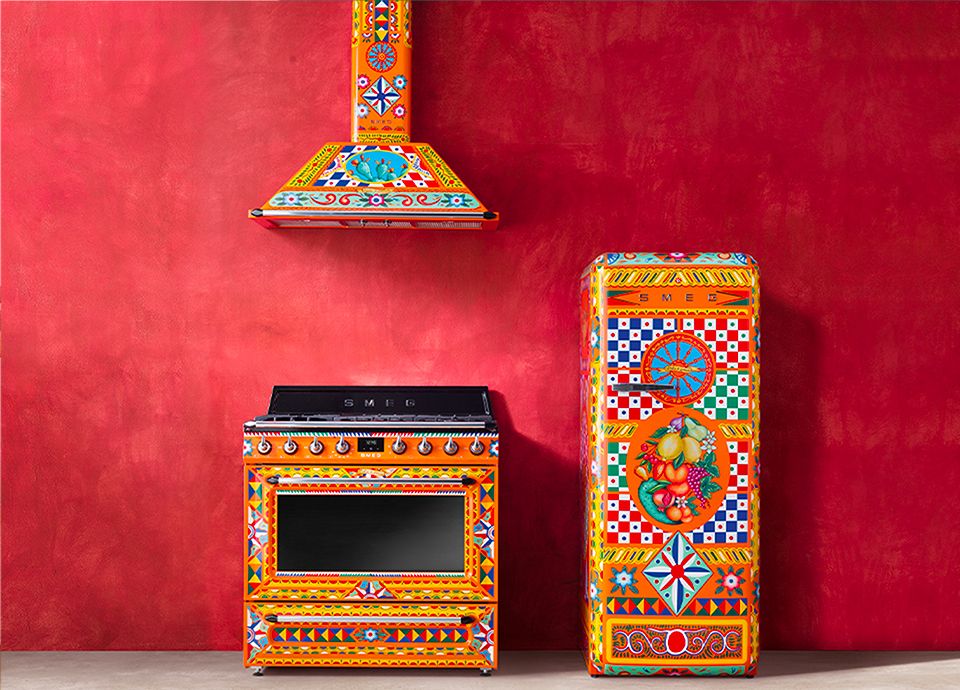
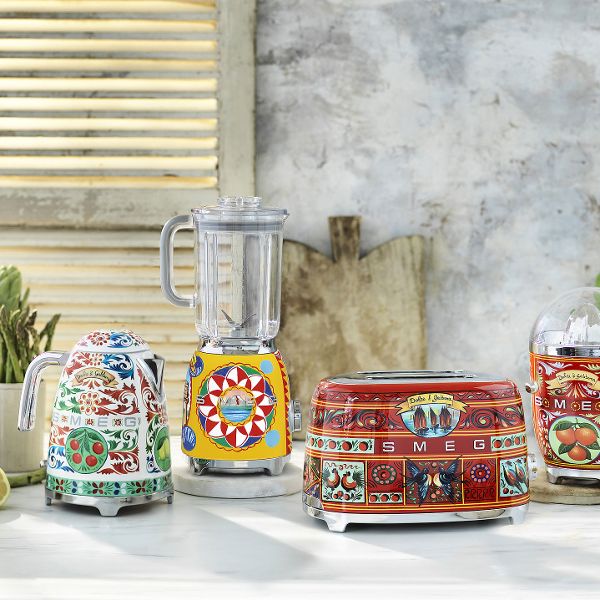
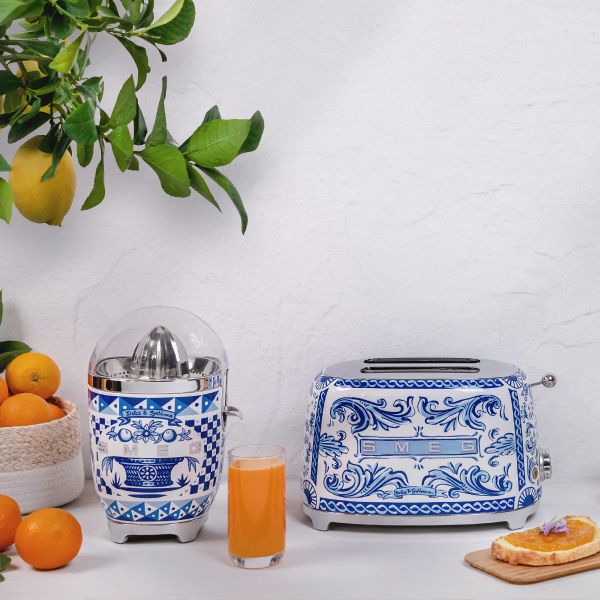
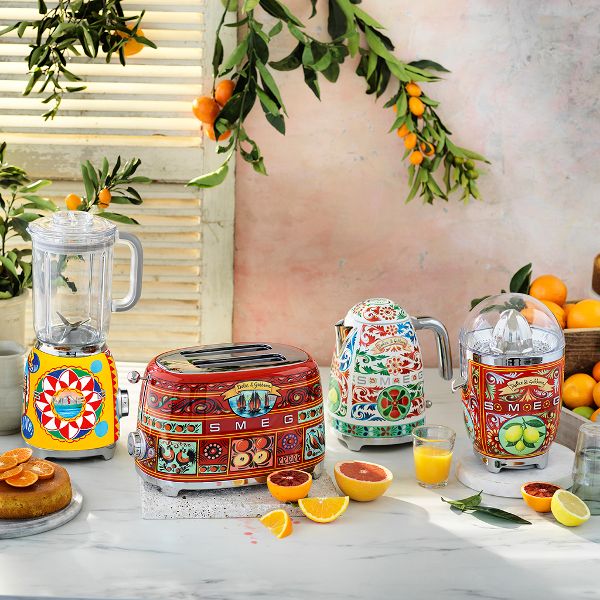
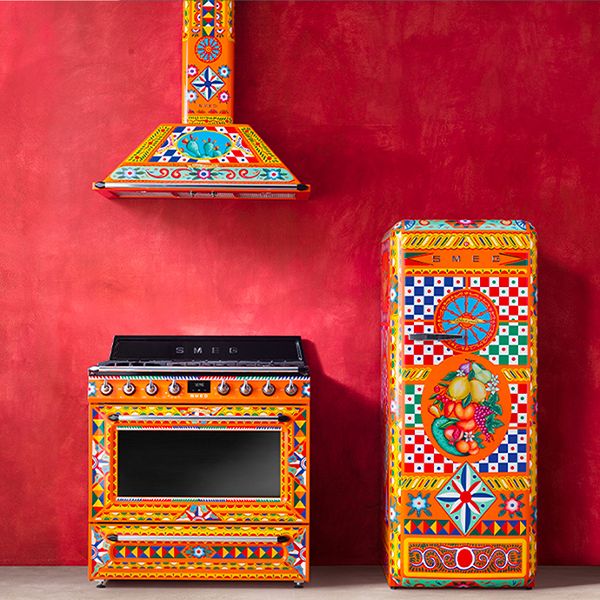
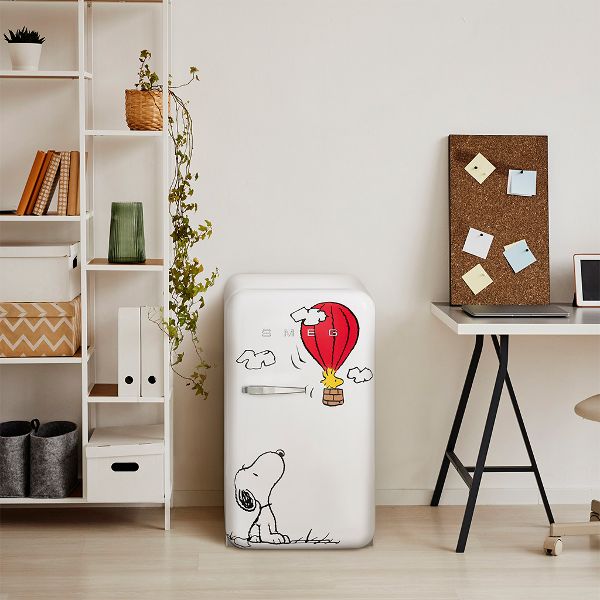
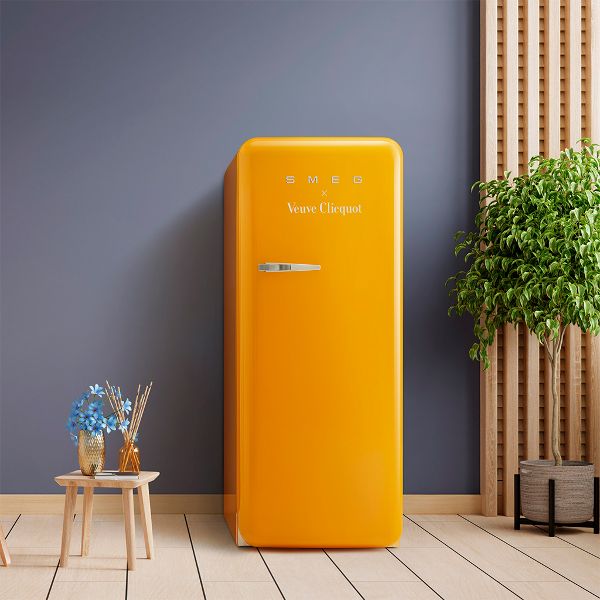
SPECIAL PROJECTS
See more
-
AESTHETIC LINES
See more
-
INSPIRATION
See more


Search
Search for the products
Enter at least 3 characters