The following guide explains how to install your new oven into an existing cabinet; if you don’t feel comfortable or able to properly complete the task, it’s important to consult a professional. Do not take any risks that could cause harm whilst fitting your oven.
1. Turn Off the Electricity
Before beginning the installation, ensure the electricity is switched off both at the appropriate isolator switch and at the RCD/fuse box. Do not proceed until this step has been properly completed. To check that the power has been completely turned off, use a non-contact electrical tester.
It is recommended to put tape over the RCD switch for that circuit during this process so that others do not accidentally touch it while it’s being worked on.
2. Remove Old Oven (If Applicable)
Ensure the relevant circuit is off and that this has been tested, both visually and with a non-contact electrical tester (as outlined in step 1). Remove any trim or panelling surrounding the appliance to access the mounting screws. Carefully unscrew these and gently slide the oven out of its built-in space, taking care not to damage nearby cabinetry. Then disconnect the electrical cable or plug.
NOTE: If you’re not planning to install the new oven immediately after removing the old oven, the end of any exposed electrical cable will need to be safely isolated using an isolation block, taped, and placed where it can't be accidentally touched. It's recommended you leave the oven circuit turned off BOTH at the red oven switch and RCD or fuse box.
3. Measure the Cabinet
Measure the height, width, and depth of the cabinet where you intend to locate the oven, as well as the oven itself, to ensure the appliance will fit. You should allow a clearance of at least 0.5cm on each side of the oven for ventilation, as well as suitable room behind the oven for the wires. The unit should be properly squared.
NOTE: To prevent any possible overheating, the appliance should not be installed behind a decorative door or a panel.
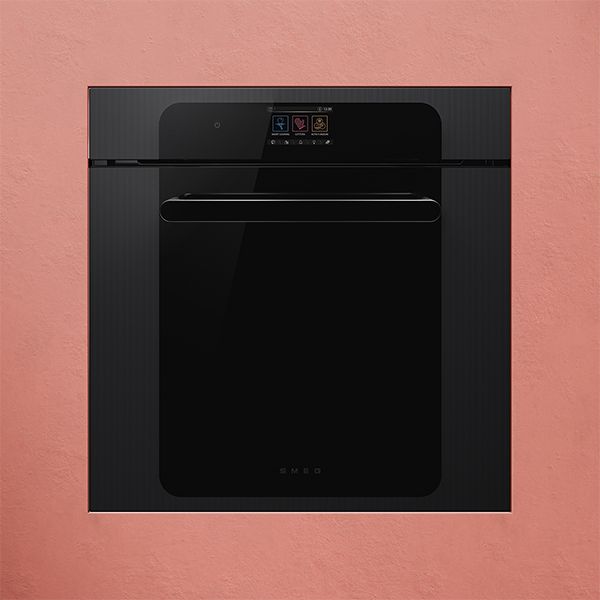
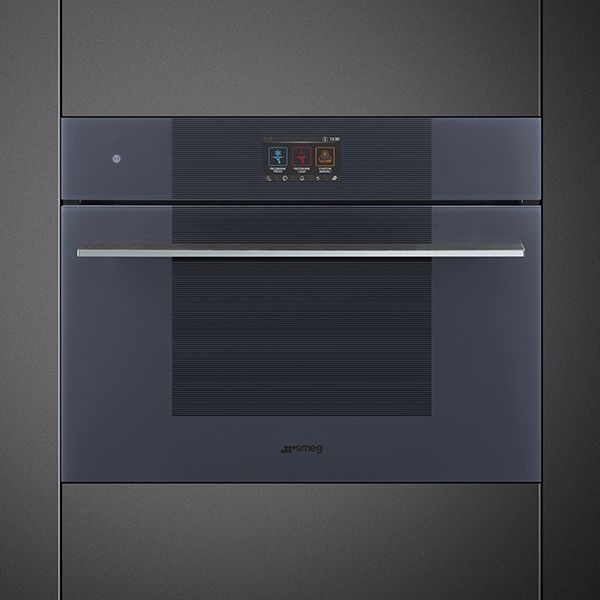
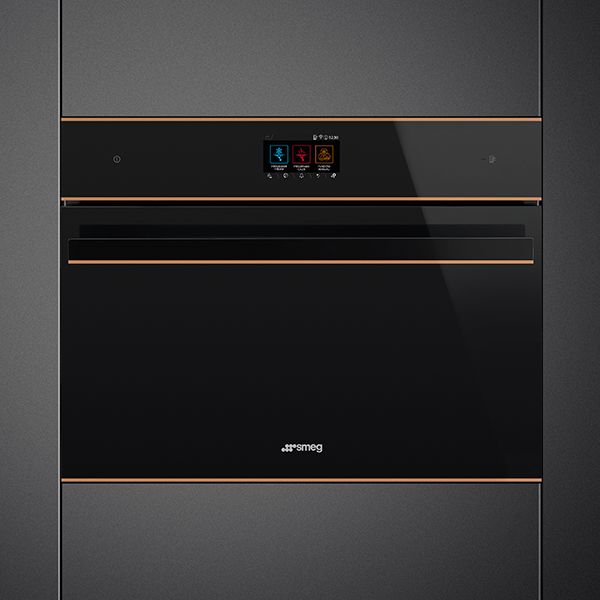
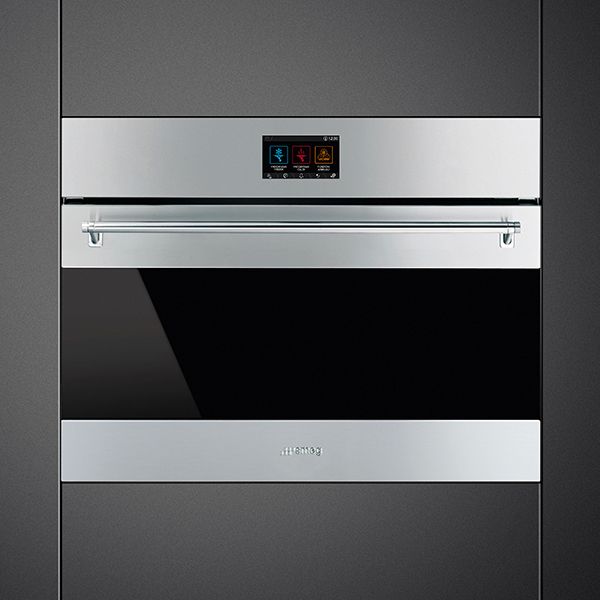
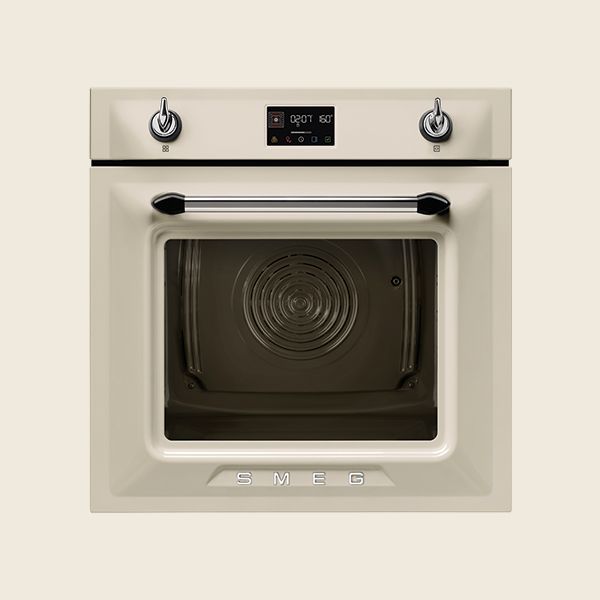
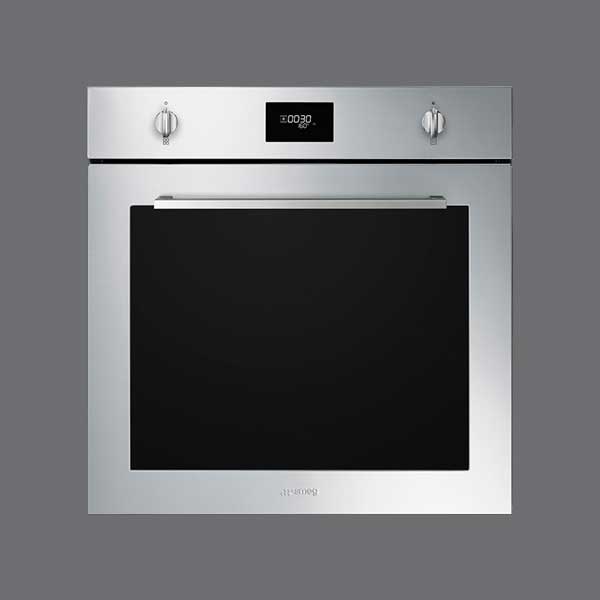
For exact measurements of your model, consult your instruction manual. Here’s an example of measurements for our built-in 60cm Omnichef Galileo single ovens:

4. Prepare the Installation Area
Remove any obstacles or existing fixtures from the area and verify that the cabinet is strong enough to support the oven's weight. Double-check that the individual shelves within the cut-out are perfectly horizontal and that there is either a plug socket behind where the oven will be placed or a wired spur connection. In either case, it is recommended that this is controlled by an easily accessible isolation switch so that the oven can be easily turned off and isolated in an emergency.
Carefully bring the oven close to the installation site, remove its packaging, and inspect it for any signs of damage, such as dents or scratches. Place the oven near the cabinet on a piece of cardboard or a towel to protect your flooring.
5. Connect the Oven to a Power Supply
Using a second person to help you lift, place the oven on a low, sturdy table or chair so that it can be a similar height to the cabinet whilst the wiring is connected. Ensure the table or chair is stable to avoid the risk of the oven falling off. We recommend you use gloves whilst lifting the appliance, as sometimes the bare metal at the back of ovens can be a little sharp, and you should ensure the electrical cables are not damaged in the process.
If your oven has a moulded plug fitted, carefully plug in the oven’s power cable, ensuring the wire is long enough to safely fit between the plug socket and the cabinet cut-out. Similarly, if you need to hard-wire the oven, follow the relevant instructions to connect the relevant live, earth, and neutral connections as instructed.
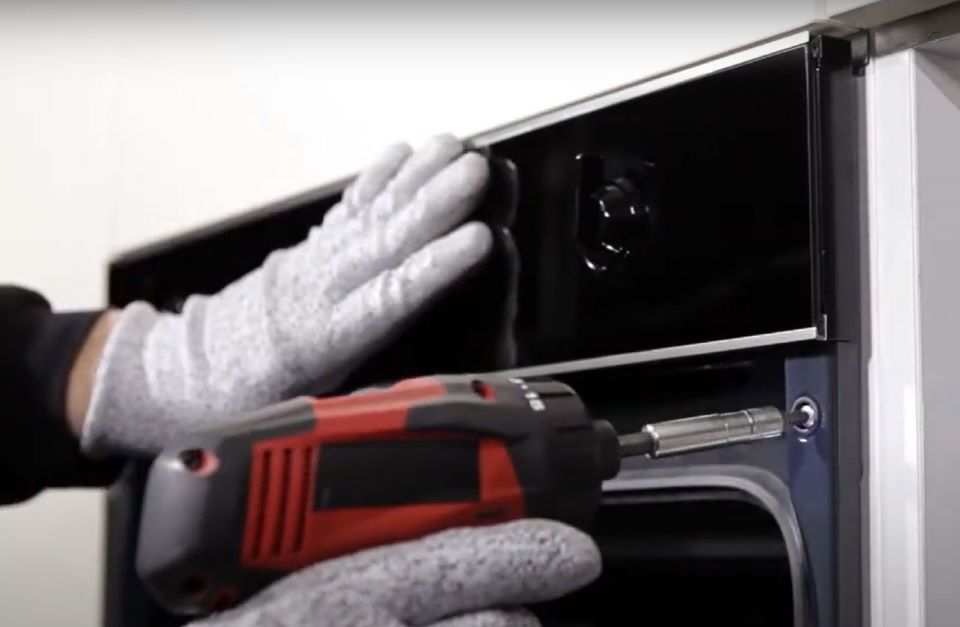
6. Placing and Fastening the Oven
Using a second person for assistance, slowly place the oven inside the cabinet, sliding it all the way in so that it sits flush and centred. Do not force the appliance if you encounter any resistance. Any resistance might be caused by a trapped electrical cable, so it’s important not to crush or damage these. Simply remove the oven and investigate the cause of the resistance. Then, once resolved, try again.
Once correctly cited, open the oven door and locate the fixing screw holes - there should be two on each side. Fasten the appliance into the cabinet using fixing screws so that it is secure.
7. Checking the Oven Works
To test that the oven works, switch it on. Depending on the model, you will normally see the electrical display light up. If it does not, do not proceed any further. Ensure you have turned on the isolator switch and the RCD or fuse box. Should it still not work, we recommend you consult a professional.
Assuming all is well, have a final check to ensure all packaging has been removed from the inside of the oven.
Next, heat it to a standard oven cooking temperature (around 180°C). You may notice a slight smell and potentially some subtle vapour. This can be fairly common depending on the manufacturer and is caused by residue left from the manufacturing process. Opening a window is normally sufficient to clear this.
However, you should not notice a burning smell or any smoke. Should either of these occur, turn off and isolate the appliance immediately.
Assuming the oven is working correctly, wait for the oven to cool before giving it a proper clean and inserting any necessary shelves or racks within the oven cavity.